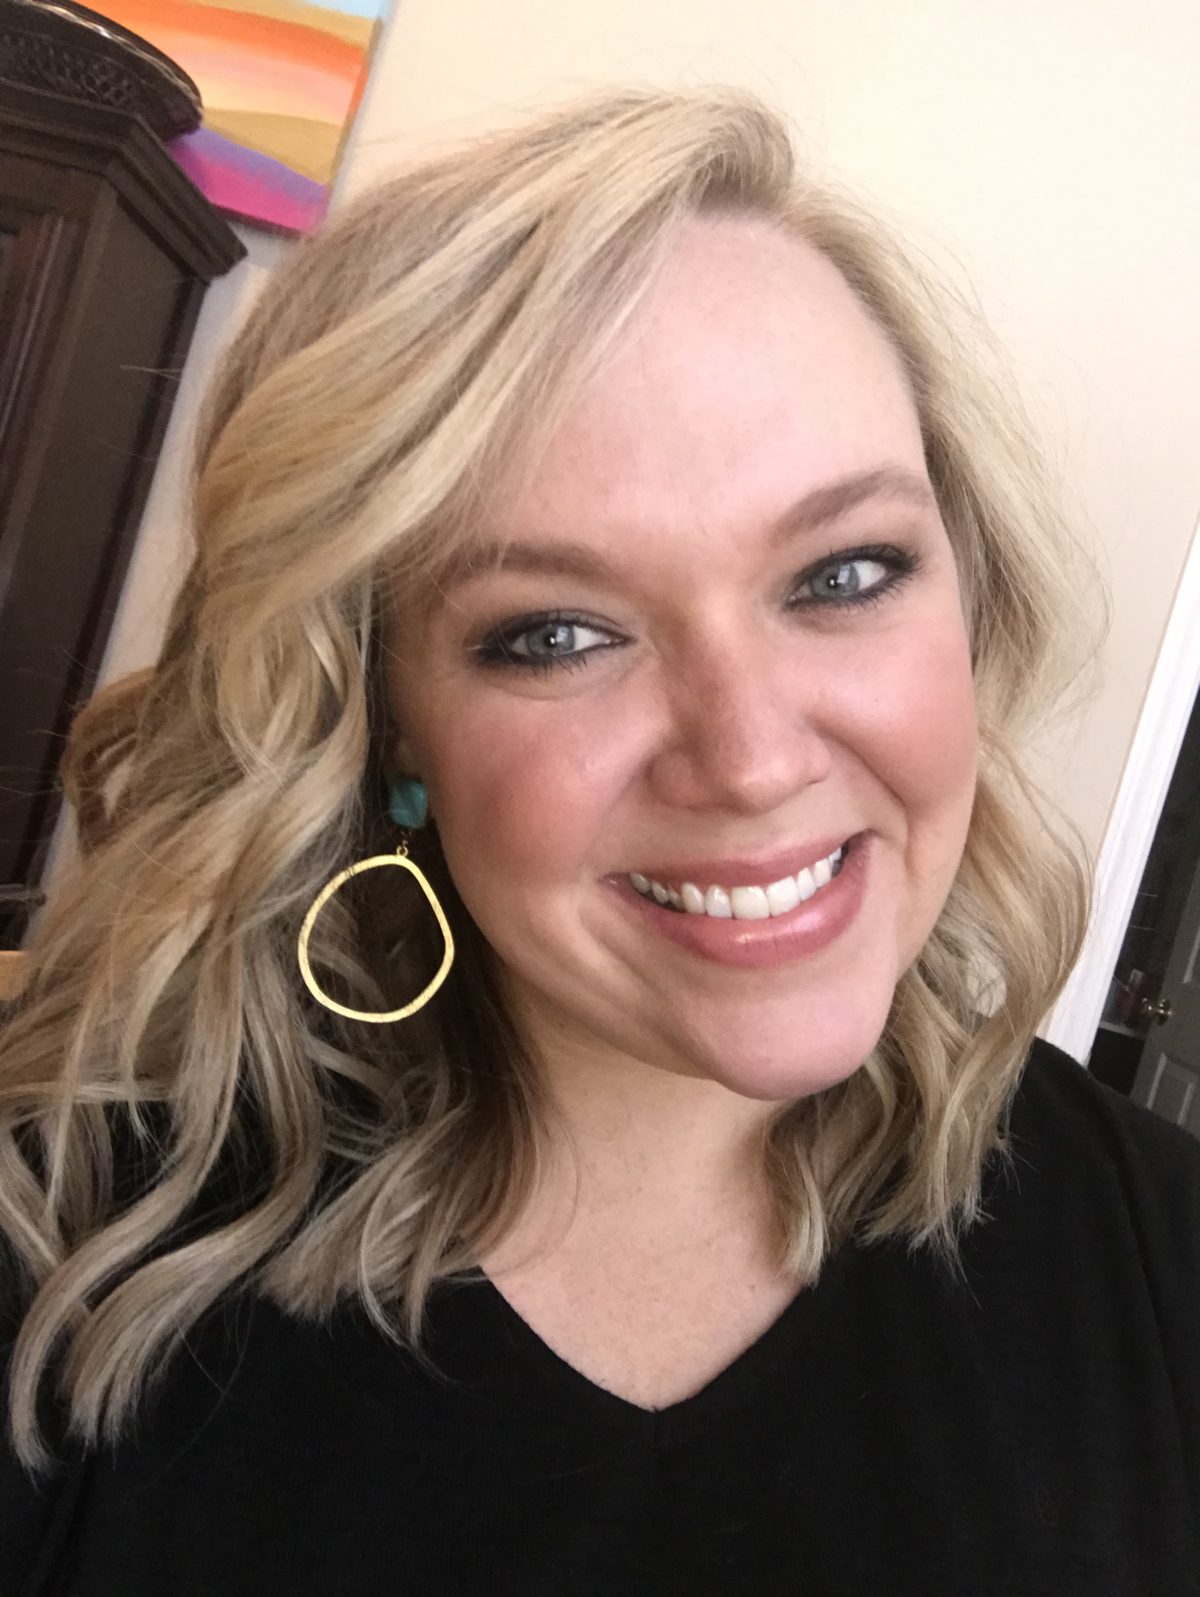
Yes, I’m still talking about this hair tutorial. But you people are the ones who asked for it. I’m just giving the people what they want. 🙂 In all seriousness, you were all so sweet to ask me for a hair tutorial, and I finally got it done over on Instagram. I saved it in my Highlights under “Hair”. So many of you have sent me pictures saying that you have tried it, and you all look fabulous!
I did come across some questions that I thought would be beneficial to address here so that everyone can use this post as a reference point. Sort of like a hair tutorial companion, if you will. I’ll link it in my Instagram bio so that it can be accessed any time. Thank you for all your questions, comments, and feedback. You made me feel like I wasn’t quite the fool I felt I was. Haha!
Products I Use
I’ve had a few questions about the products and tools I was using in the tutorial and what shampoo, conditioner, and any styling products I use. Here they are:
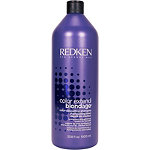
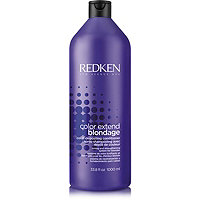
Shampoo and Conditioner– I try to only wash my hair two or three times a week. So every other wash or so I’m using Redken Color Extend Blondage Color Depositing Purple Shampoo and Conditioner. I have really seen a difference in using this to brighten up my blonde and take out the brassiness that happens to most of us blondes.
On the other washes I’m trying to finish up my giant bottles of shampoo and conditioner that I got from Costco. They’re the Kirkland brand. Thankfully I’m almost out because my hair is ready for a better shampoo. Anyone have any good recommendations?
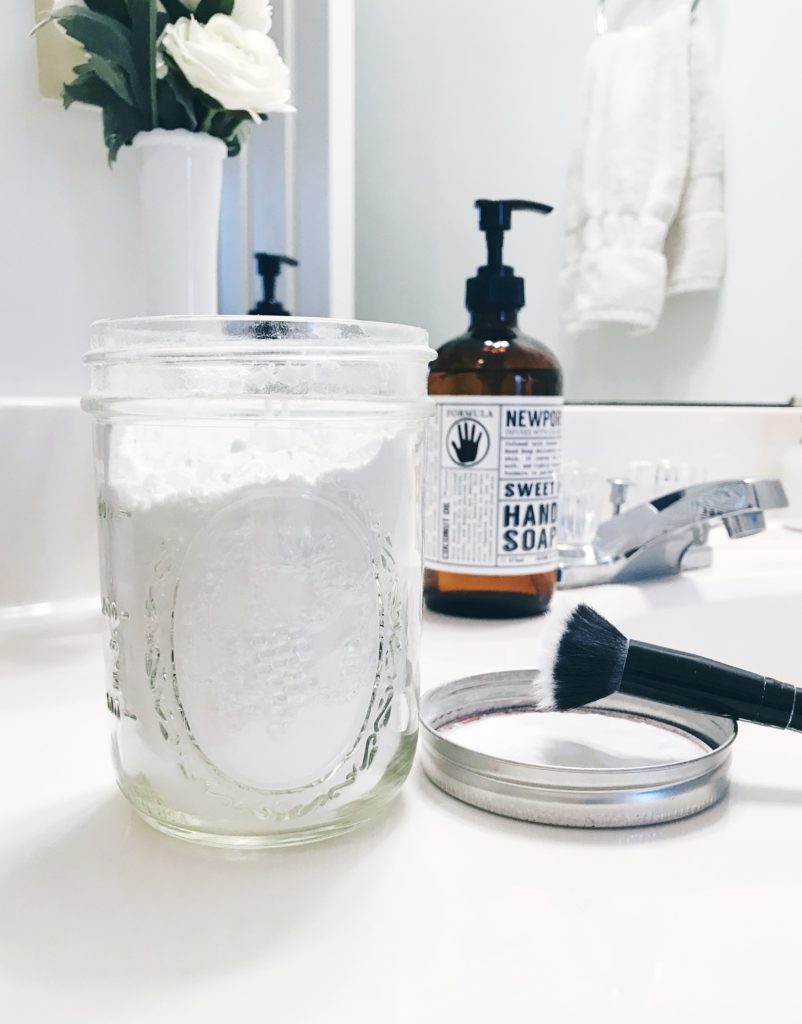
On the off days I use my DIY Dry Shampoo. I apply it at night before getting into bed; it’s just part of my nightly routine. I sleep with my hair in a loose ponytail or top knot and touch up with dry shampoo in the morning if it needs it.
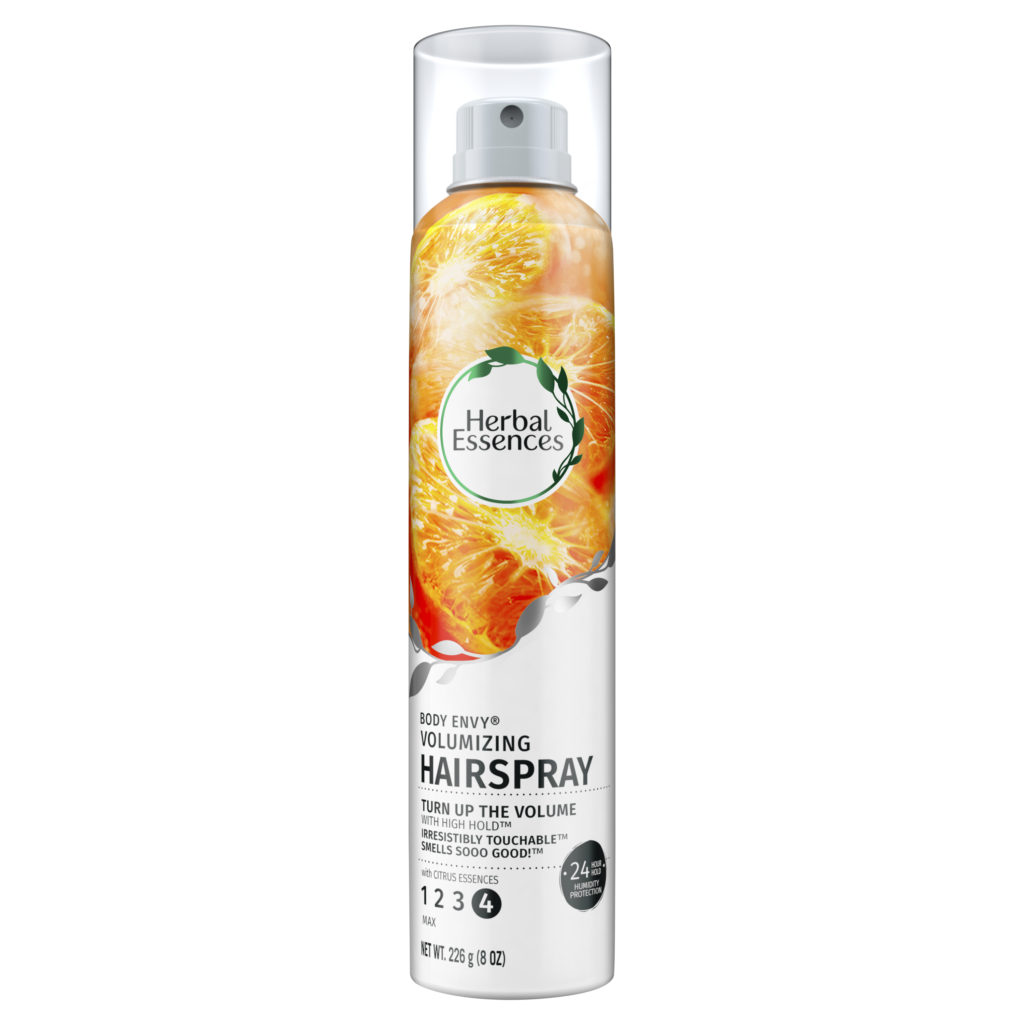
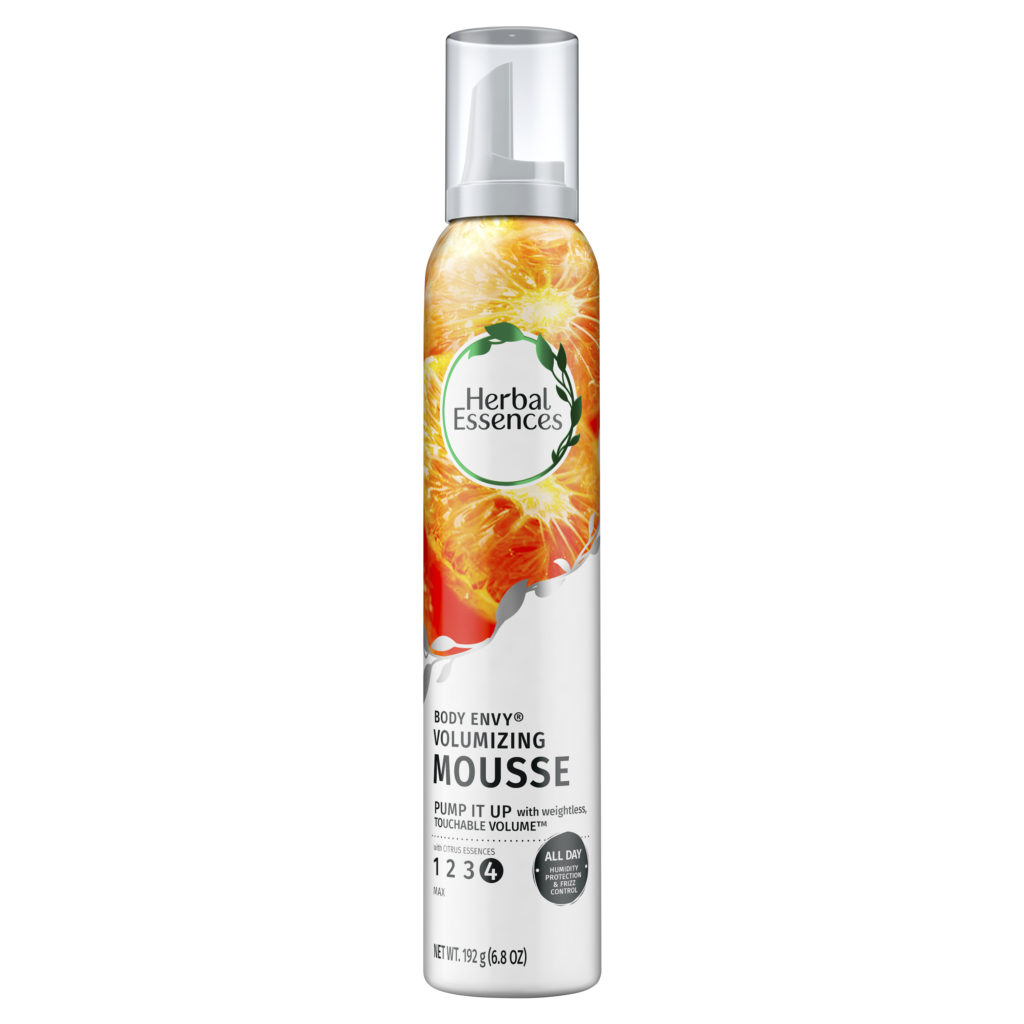
Volumizing Mousse and Hairspray by Herbal Essences– This is a new product for me. I used it for the first time when I filmed the tutorial. I really like the hairspray, but I’m not sure the mousse is really doing much. I’ve only used it about twice, so I’ll keep you updated on Instagram and let you know if I’ll repurchase this one.
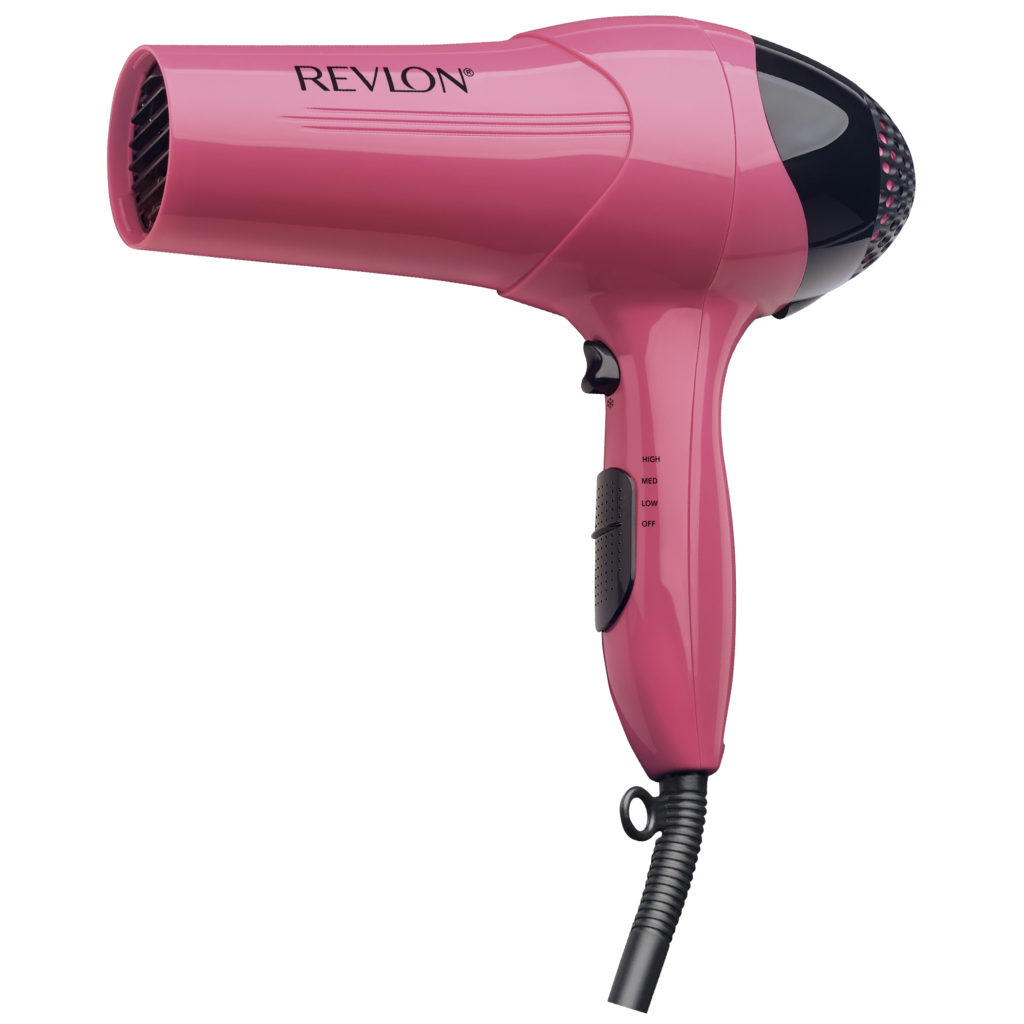
Hair Dryer– Revlon Essentials Lightweight Pink Hairdryer– It isn’t fancy, and it’s really cheap, but it gets the job done.
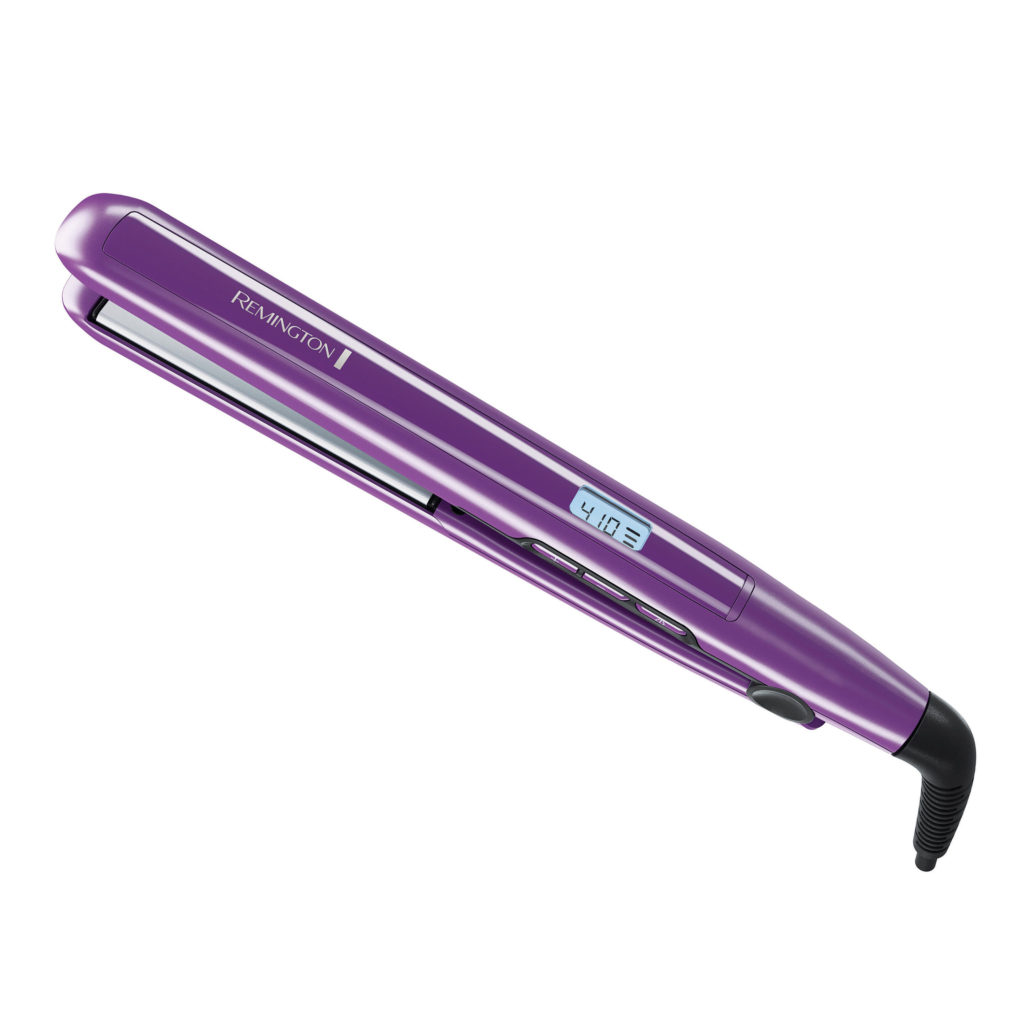
Straightener– Remington 1″ Flat Iron– This isn’t my exact straightener. I’ve had mine for so many years. But it’s probably the current equivalent. I haven’t had any issues with mine, and after so many years, it still works great!
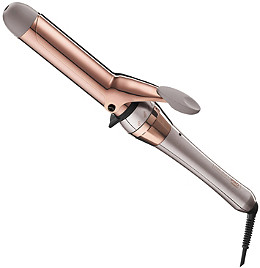
Curling Iron– Conair InfinitiPro (1.25″ barrel)- This has proven to be a great curling iron. I’ve really been enjoying it, and ultimately I’m glad I didn’t get the really expensive one I had my eye on.
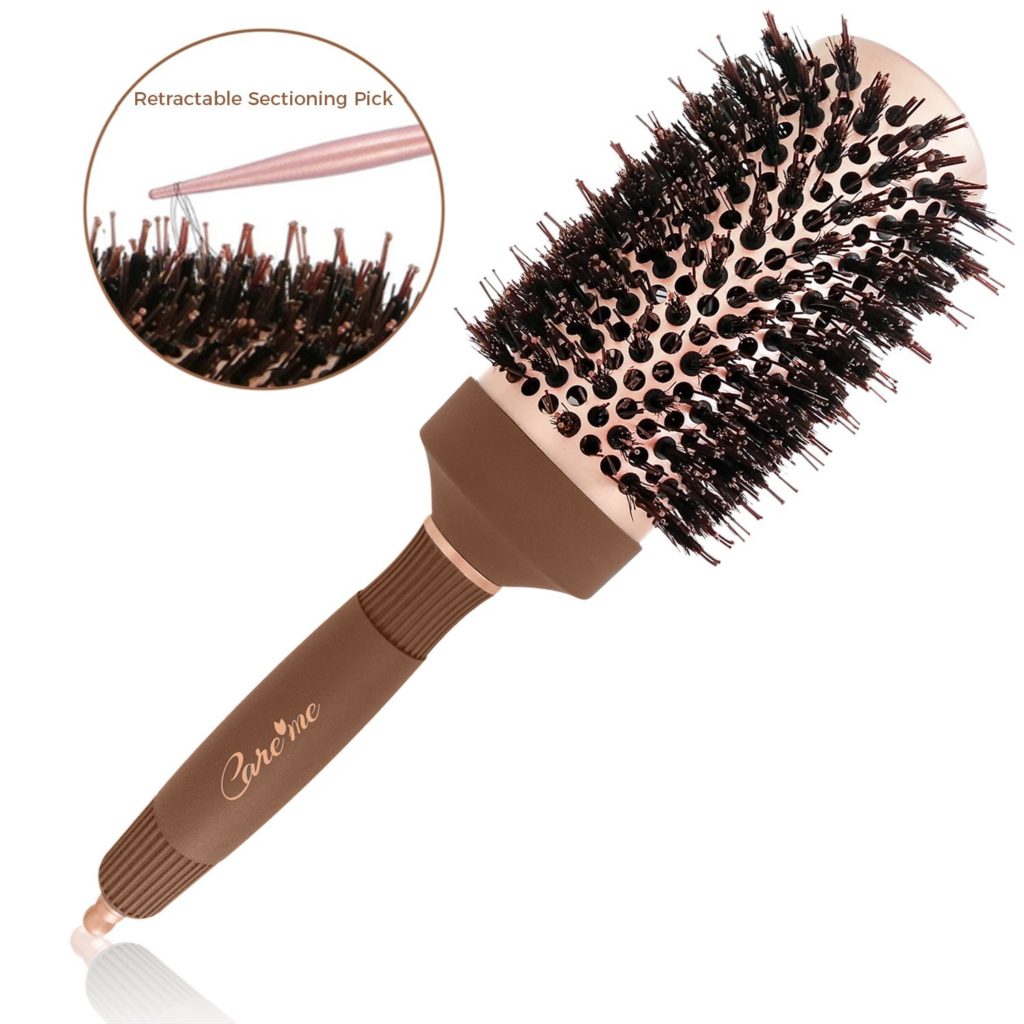
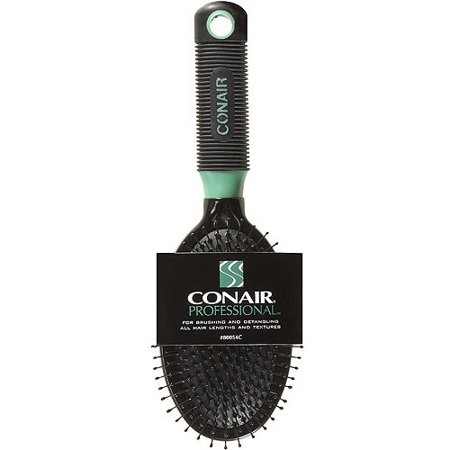
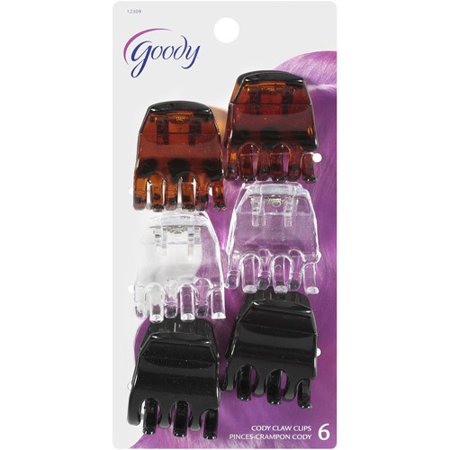
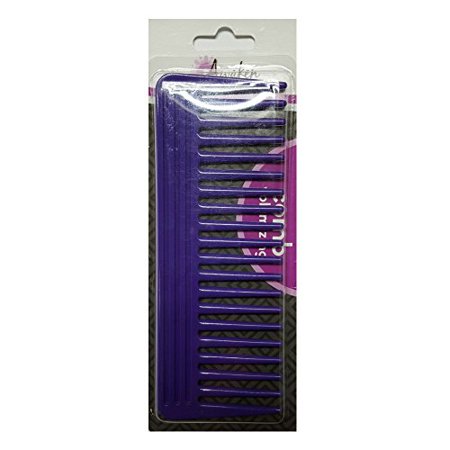
Others– Round Brush (similar to mine), Flat Brush, Clips, Wide Tooth Comb
Step-by-Step
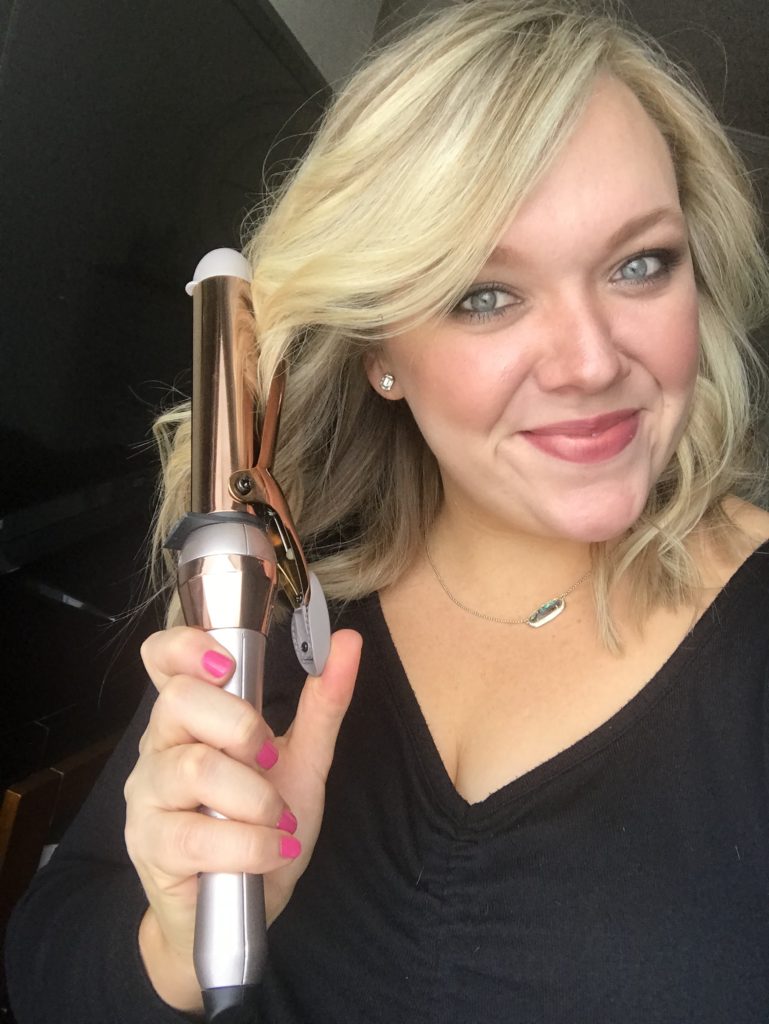
Because I’ve got the video tutorial on Instagram, I’m going to quickly go over the process of styling my hair here in case you need a quick reference.
1. Shampoo and Condition hair.
2. Apply volumizing mousse to damp hair and comb through.
3. Dry hair using a round brush for extra volume.
4. Straighten ends of hair with straightener.
5. Section hair off to begin curling. Will curl the bottom most section of hair first.
6. Curl 1″ sections of hair. Remember to put the clamp under the strands of hair and curl away from your face. Optional: Leave about an inch or inch and a half of hair out of the curling iron to keep it straight.
7. Continue step 6 throughout all sections of hair remembering to curl away from your face.
8. Leave curls to cool for 5 minutes.
9. Comb through curls with a wide tooth comb or with your fingers to separate and soften curls.
10. Spray with hairspray and you’re good to go.
Day 2 Styling
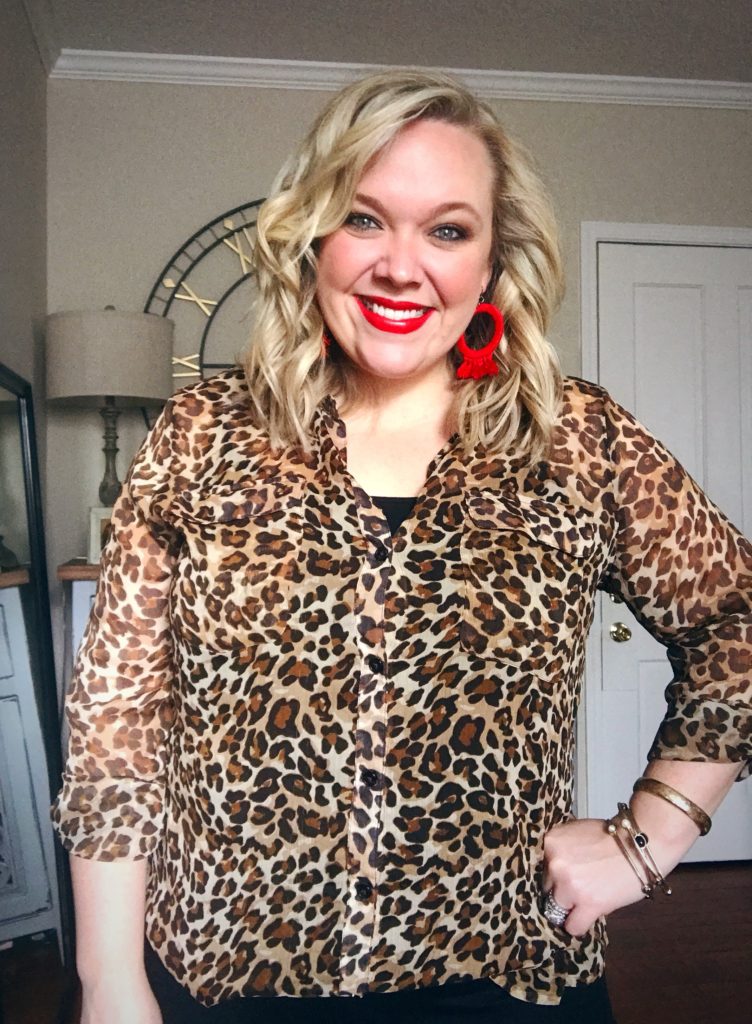
Okay, let’s say you’re like me and don’t wash your hair every day. Right now during the summer my hair is pretty much straight by the morning because of the sweating and the humidity here in south Alabama. When that happens on a day that I don’t wash my hair, I will simply begin the curling process again. I won’t add any more mousse or any sort of product, but I’ll begin my straightening the ends and then section off my hair to begin curling. I wait the 5 minutes for them to cool, comb them through, spray, and I’m out the door. Easy peasy.
A Word of Advice
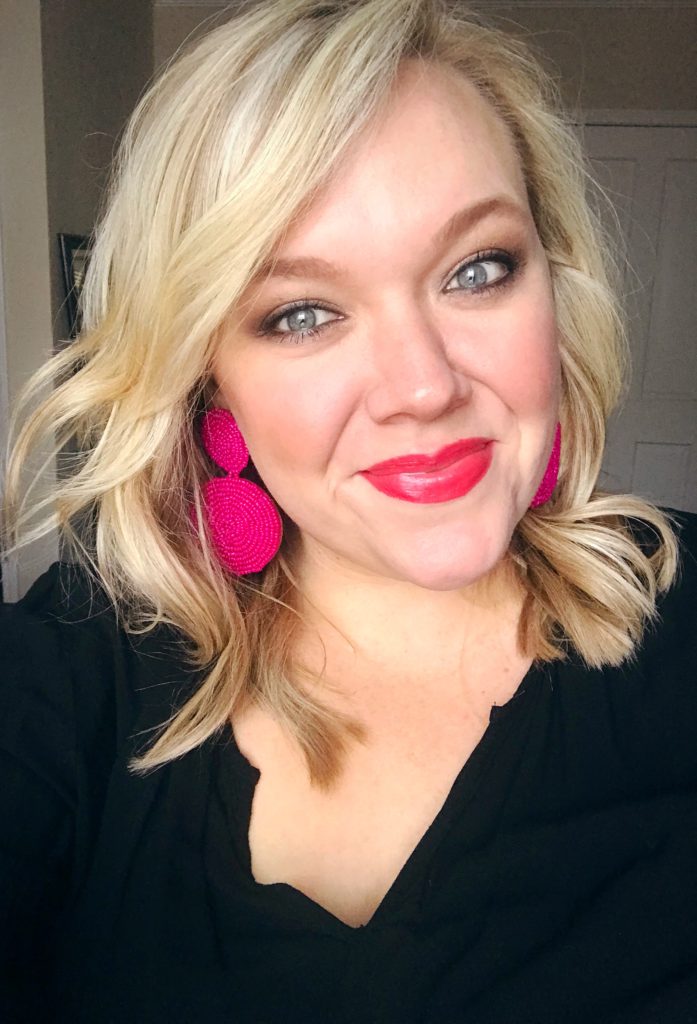
Just Try It– I can’t tell you how many times I hear, “But I just don’t know how to use a curling iron.” I promise if you just try it you’ll probably surprise yourself. Keep trying until you find the right rhythm and products for you. Pay attention to your hair thickness/thinness, the heat of your curling iron, the barrel size, the length of your hair. I find that a 1″ barrel curling iron worked best for my longer hair, but the 1.25″ barrel works best for my shorter hair.
It Will Take Some Time– This is not something you’ll likely master in one try. You didn’t run the day after you learned to walk. Keep practicing! Maybe you practice on a day that you don’t have anywhere to go. That way if it’s awful, you don’t have to see anyone. 🙂
Give Yourself a Little Extra Time– Because of the above tip, you may want to allow a few extra minutes to get ready the first few times you do it. It’s not all that hard, but when you’re trying to do something new it usually takes a few extra minutes. Once you get used to it, your muscle memory takes over and you’ll be doing it in 5 minutes!
If It Just Doesn’t Turn Out– That’s why hats were invented, y’all! 🙂 Or throw it up into a cute, curly pony tail. Or just wet your hair and start over. Practice makes perfect.
Don’t Forget
Anytime you get frustrated or forget something, refer back to the tutorial on Instagram or come back to this post. I’m always available for questions through DM also. And y’all, it’s just hair. We all have good hair days, and we all have bad hair days. But here’s to the good ones!
You can do this! And keep those pictures coming. I’m loving them.
