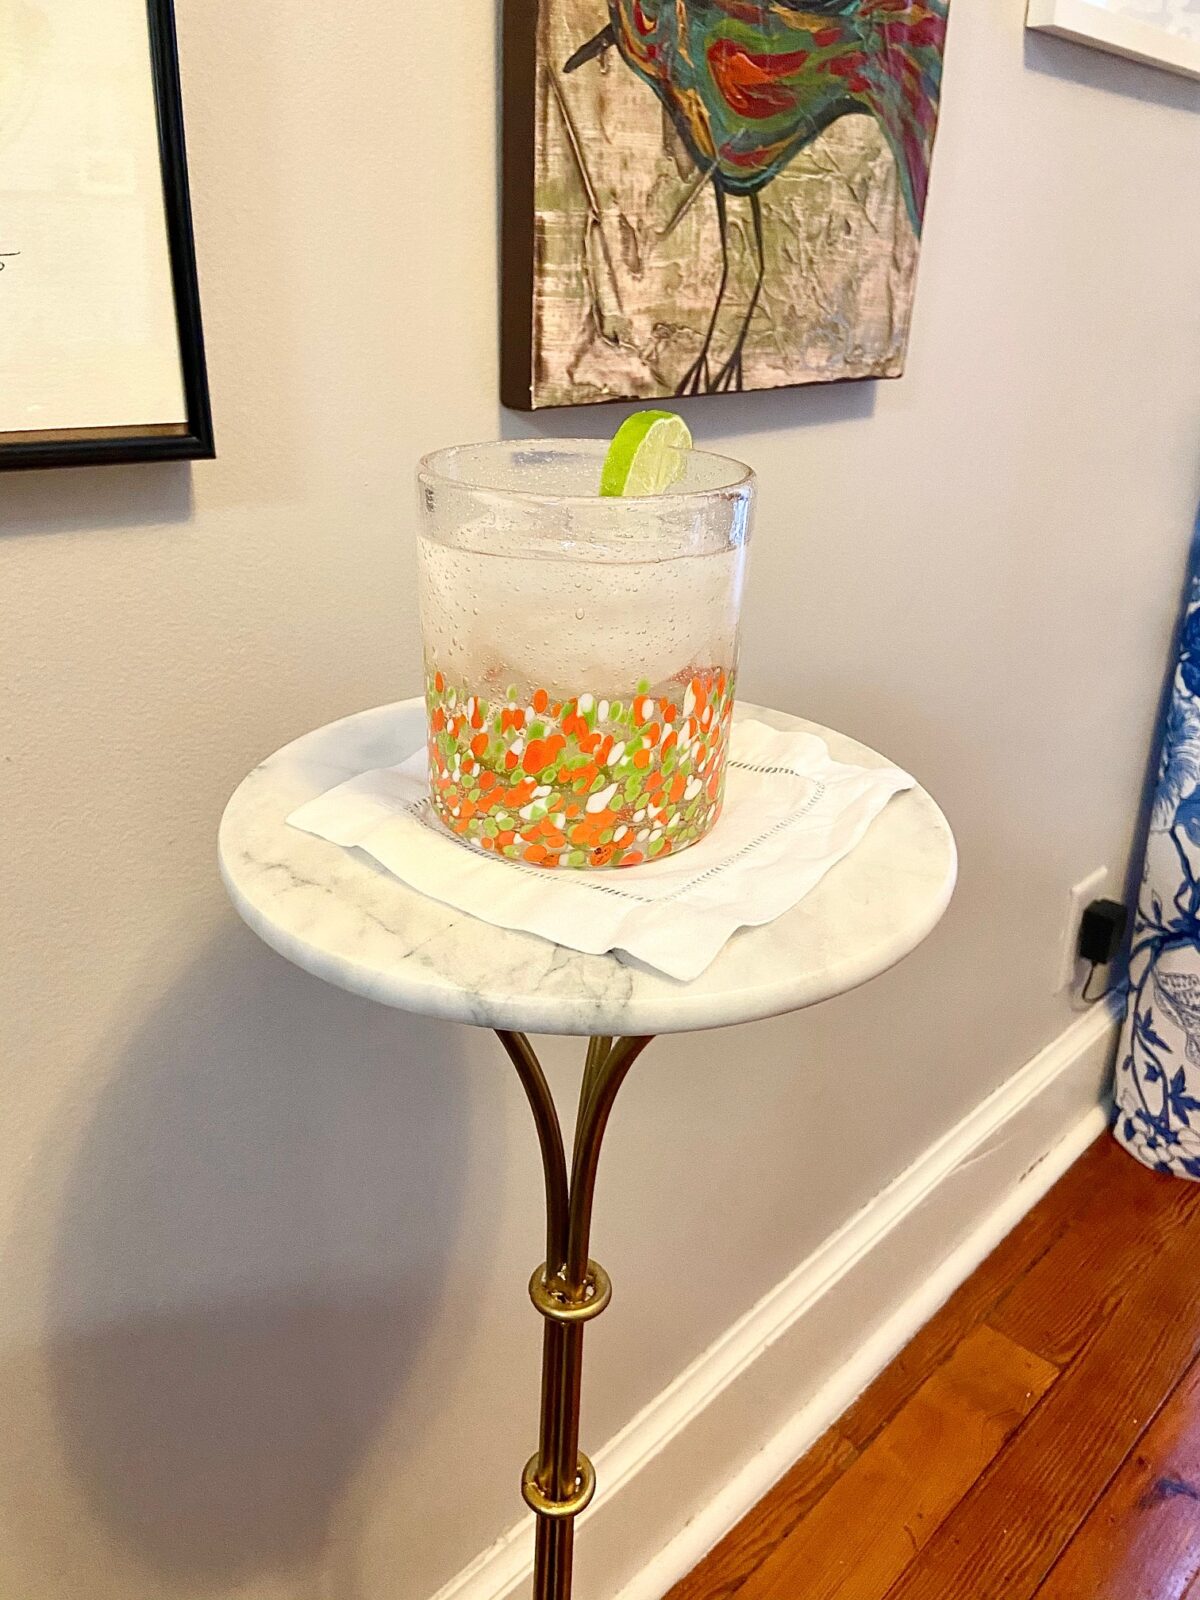
You read that right. I made a table. I recently noticed I had a need for a beverage table on the side of my sofa. The way our furniture has to be positioned in our apartment allows room for only one side table between the sofa and the recliner, but I find myself sitting on the side without the table. Whether it be coffee, a Yeti full of water, or a cocktail, I need a place to put it. So I up and made one.
Continue reading “I Made a Table”Category: Before and After
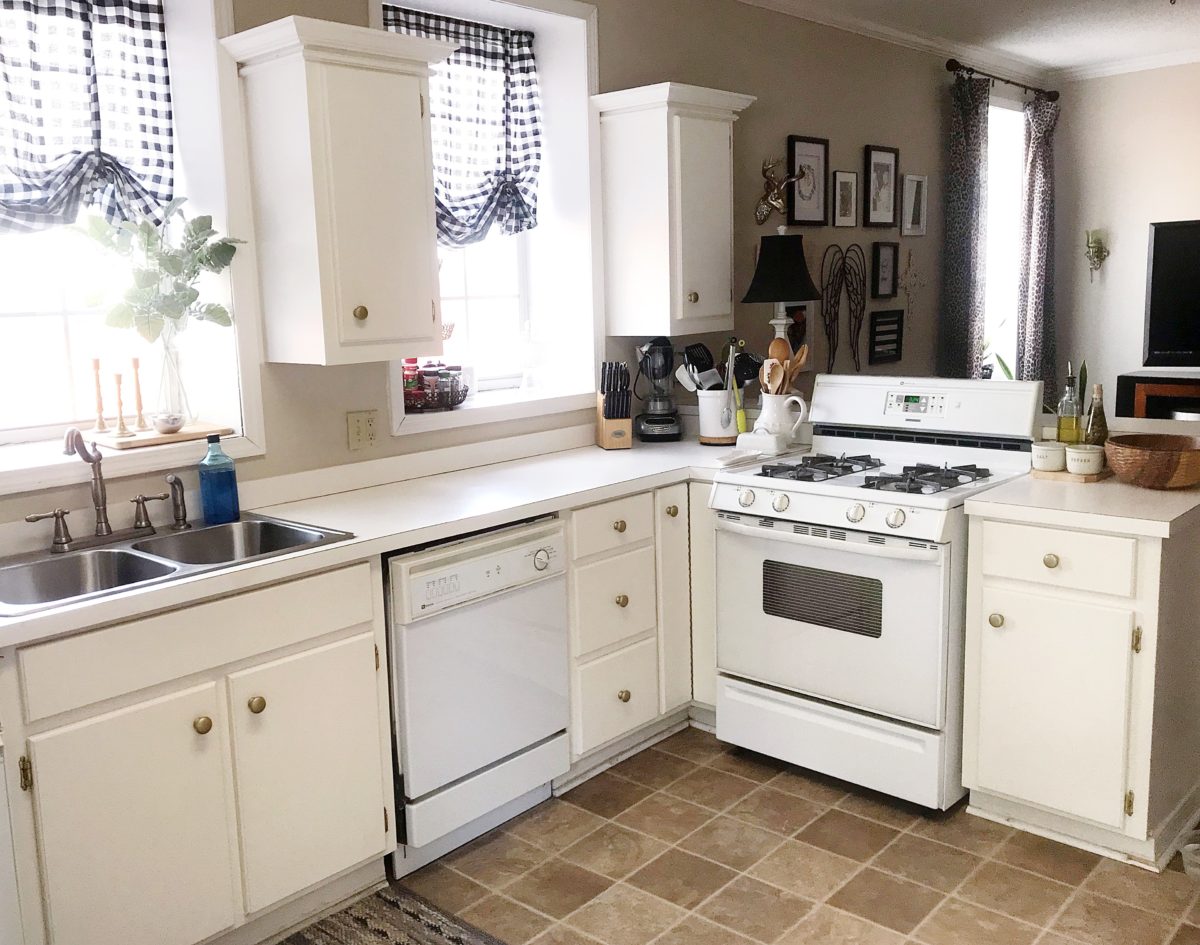
A $6 Kitchen Refresh
Happy Friday! It’s almost the weekend, folks! This is equal parts good and bad for me. This is technically my last one before I report back to my day job of teaching. I am never ready to go back after summer break. I could seriously get used to the housewife life. 🙂
I’ve had a good summer, though, and have accomplished several tasks I had on my to-do list. One of them was to give my kitchen a refresh. With my creativity flowing after doing a rug switcheroo at my parents’ house, I started “shopping” my home and reorganizing. Then I got a notion to change the hardware on the cabinets and drawers. That google search lead to many unnecessary dollars potentially being spent, so I decided to really get creative in how I could change the existing knobs.
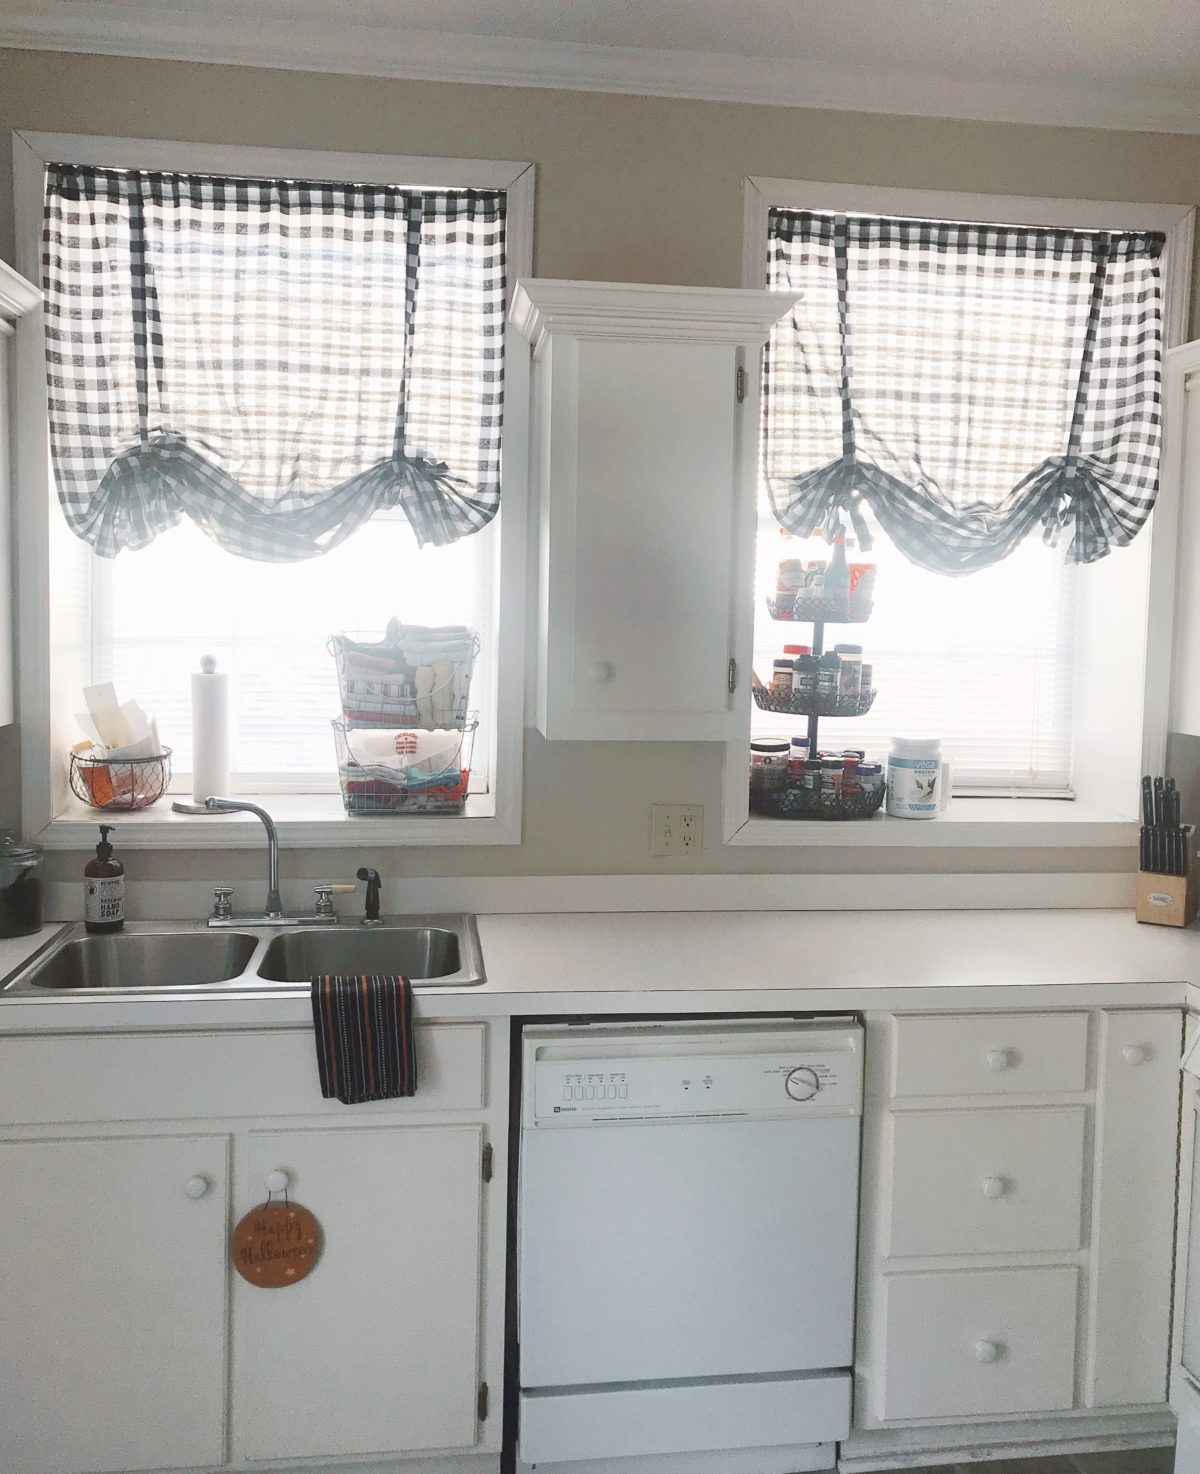
Buffalo Check Kitchen Curtains
One night while scrolling through Facebook, I noticed an ad for Walmart that stopped me in my scroll. It made my eyes go wide, and without even realizing it, I’d clicked the link, added to my cart, and purchased. Hook, line, and sinker, y’all. Continue reading “Buffalo Check Kitchen Curtains”
Bathroom Makeover Before…Again
Oops, I did it again! Or, I will. 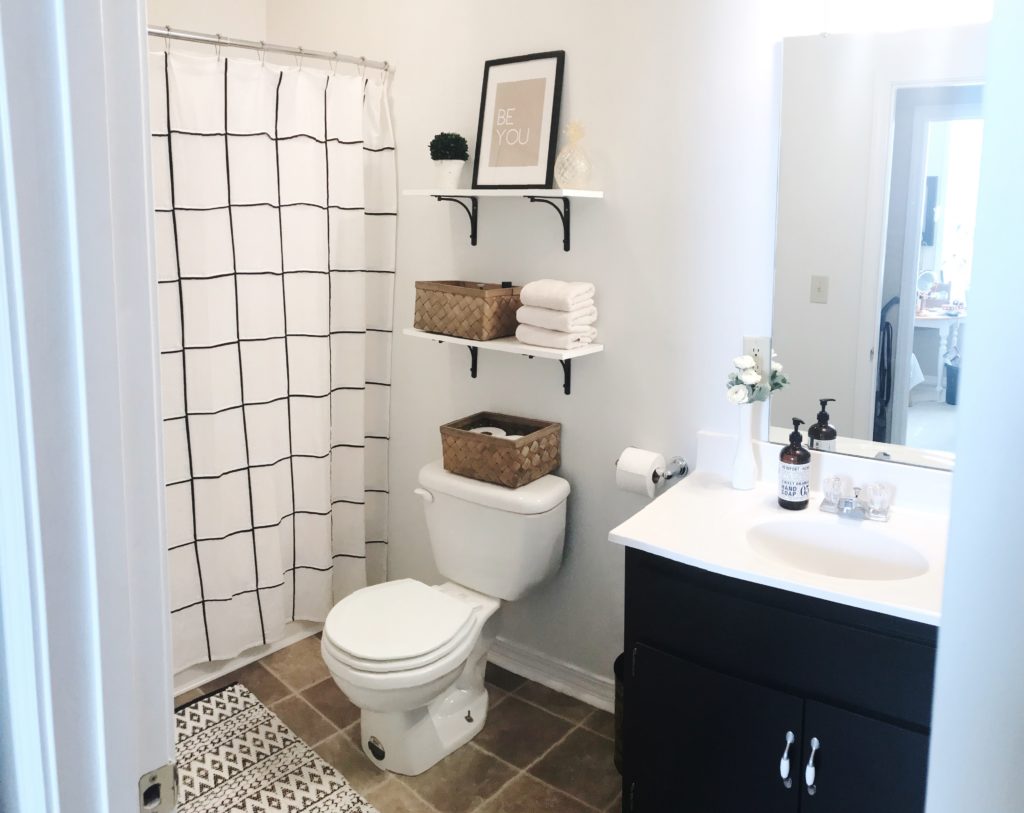
I liked my guest bathroom makeover so much that I’ve started a similar one in our master bathroom. But I can’t show you an after without showing you a before. I’m sparing no mess or clutter. I want to share what we’re living with right now. It definitely needs some sprucing up and could use a bit more storage and better organization. That’s the main goal as I move forward with this project. Continue reading “Bathroom Makeover Before…Again”
Mirror Makeover
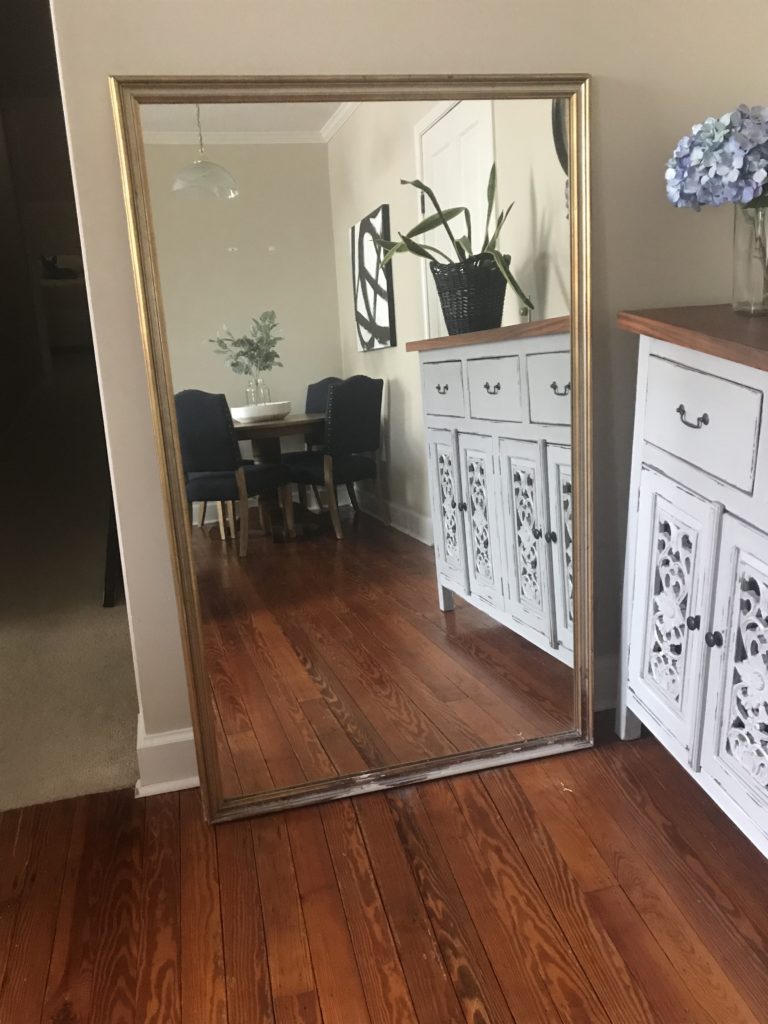
When you move into an apartment owned by your in-laws, you get a few added perks like old furniture pieces that they have stored in the building or that have been left behind by old tenants.
Case in point- this full length mirror.
Bathroom Makeover Reveal
 She’s finally finished!
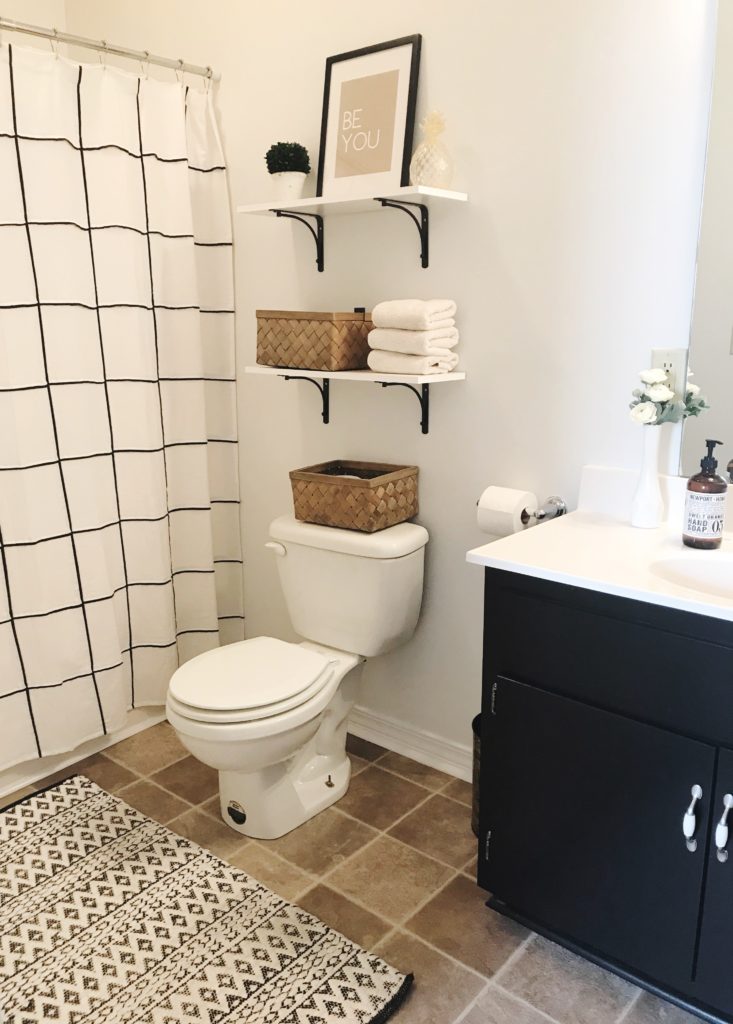
What started out as a weekend project ended up hitting the back-burner and taking quite a long time. But, y’all, it’s complete. And it’s pretty good!
It turned out exactly as I’d hoped, and I’m happy to show it to you now.
If you remember, we rent our apartment from my in-laws, and they have been so gracious to let me give the bathroom a little makeover. This project was very simple and only required painting the walls and vanity and hanging shelves and pictures.
Before we get to the reveal let’s remember how it looked when we moved in. Continue reading “Bathroom Makeover Reveal”
Bookshelf Changeup
BOOKSHELF CHANGEUP
We recently had some pretty fantastic snow days here in Alabama, and I actually was able to do some productive things while we were out of school. It doesn’t matter that the productivity didn’t actually happen until Saturday when the snow was mostly melted. Hey, I thoroughly enjoyed my SNOW days by staying warm under the covers rewatching Big Little Lies. They’re winning all these awards, and I felt like an eight episode show wasn’t too much to binge in a few days.
But Saturday came and I was feeling the creative bug, so I took my gallery wall apart. 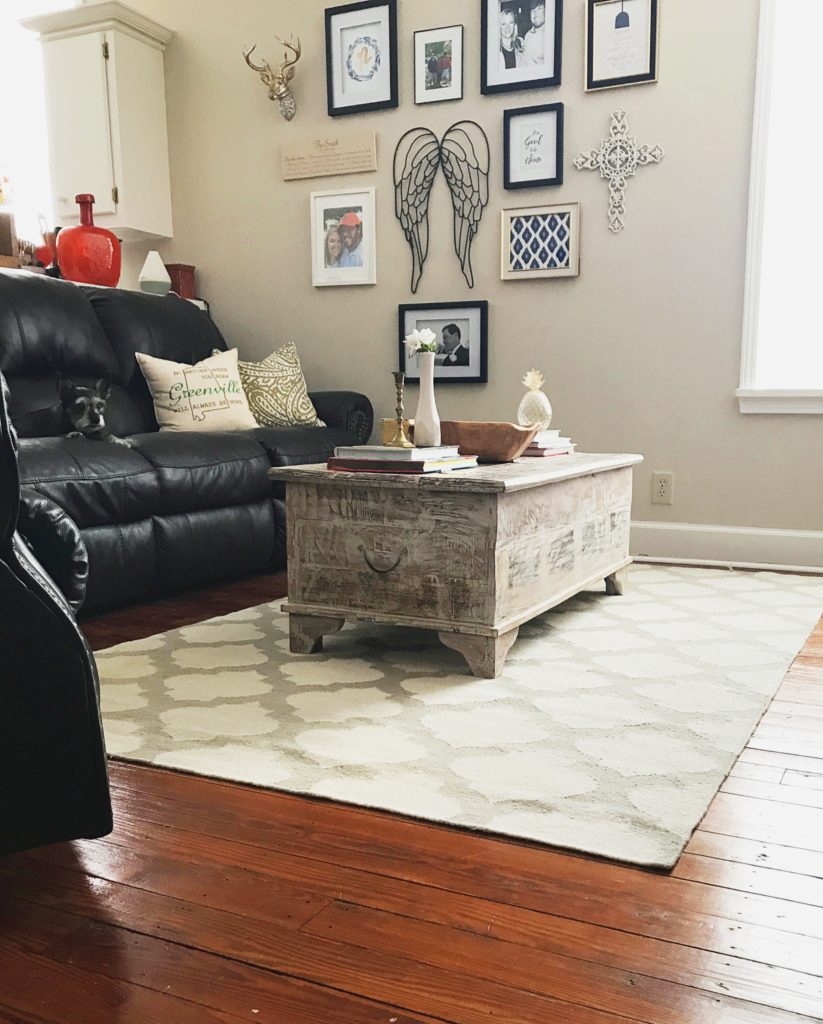 And then promptly put it right back together because I don’t have anything else I’d like to put in its place. I have a lot of things in my cart at Minted but I don’t have a lot of money in my bank account to pay for all those pretty prints. Story of my life.
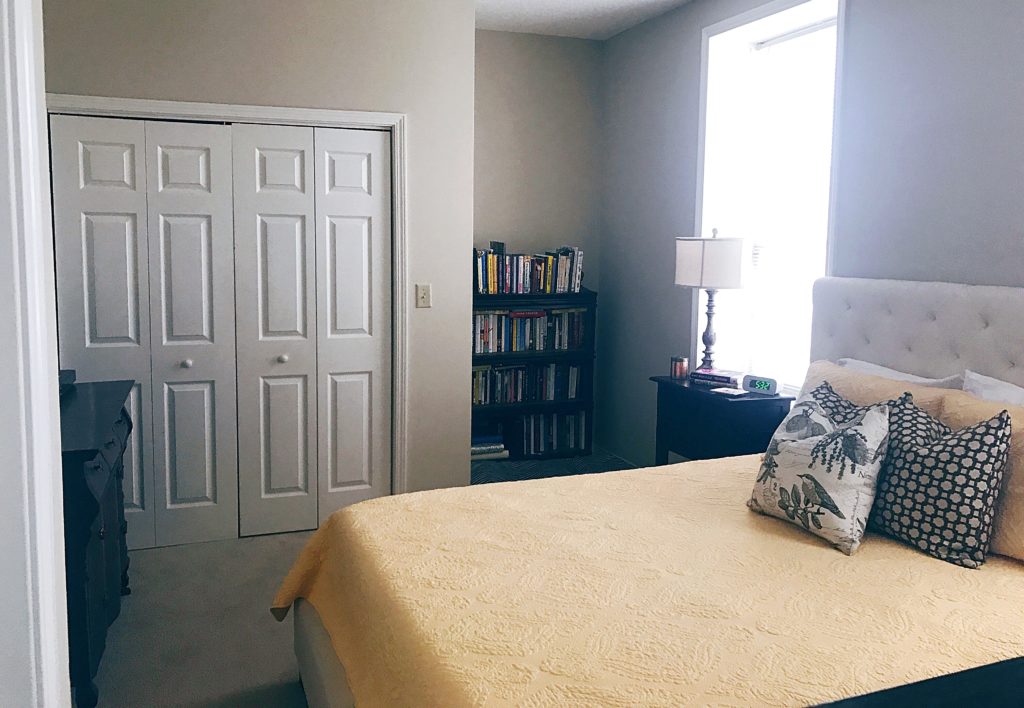
So then I walked to my bedroom, looked around and realized the drapes in my cart at Ballard don’t really go along with my bank account either. Sooooo…I decided to rearrange the books on the bookshelf. I knew I wanted a more streamlined look somehow. I didn’t want the messy look of all the randomly placed books. I’ve been craving simplicity in my decor, and the mismatched spines on the bookshelf didn’t fit that for me.
Here’s what it looked like before. 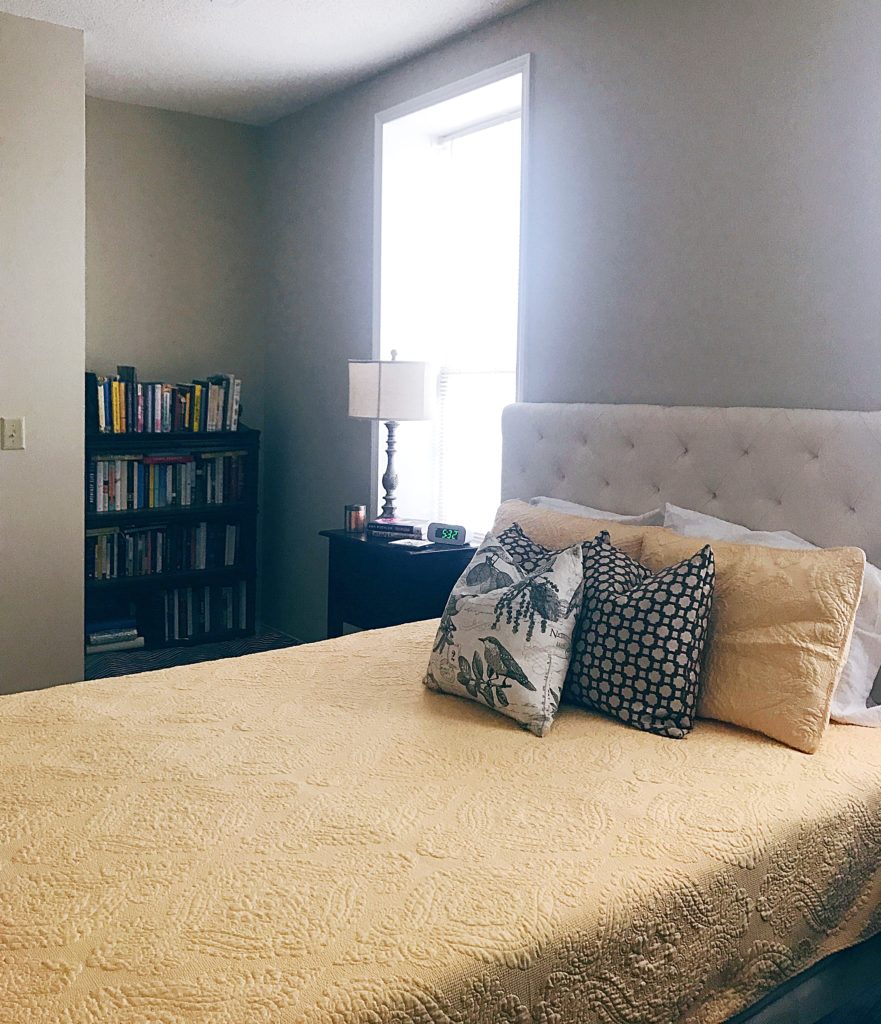 This was about a year ago in March. At the top are all of my cookbooks and a few children’s storybooks I’ve collected. You can see there’s no real rhyme or reason to the way I shelved the books. It’s not necessary for there to be a rhyme or reason to shelving books, but like I said, the creative bug had bitten me, so I went for it.
Here’s what it looks like now.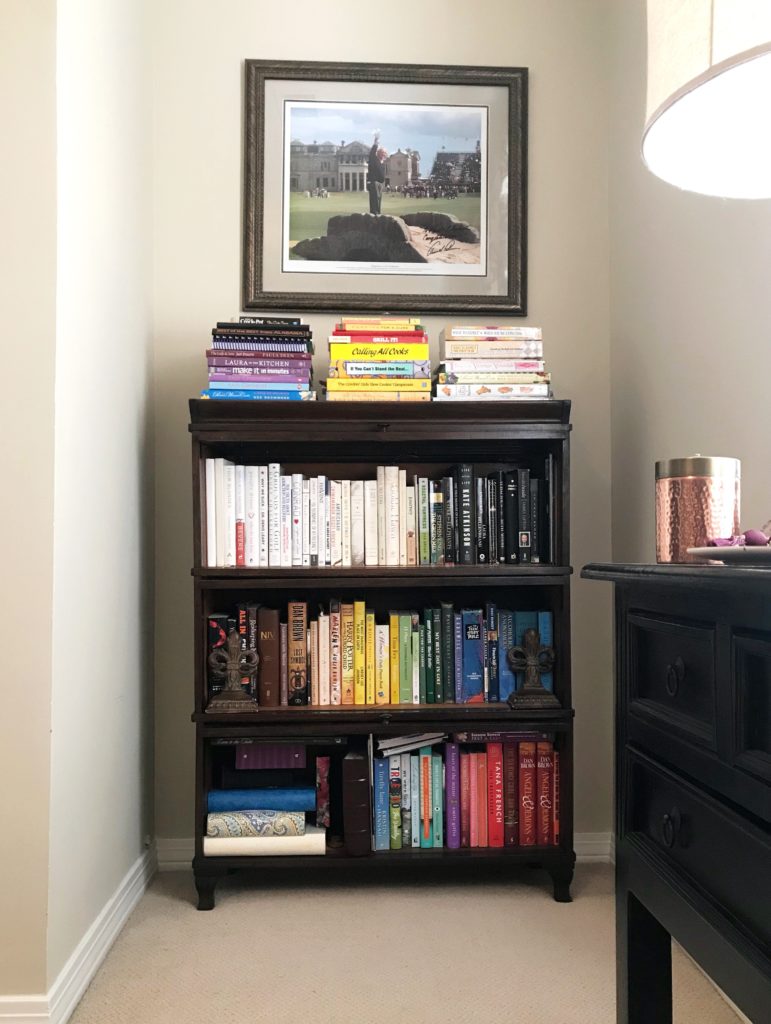
I decided to shelve the books by the color of their spines. In keeping with the need for simplicity I started with white and black and just kept going. I know I didn’t follow Roy G. Biv, but it works for me.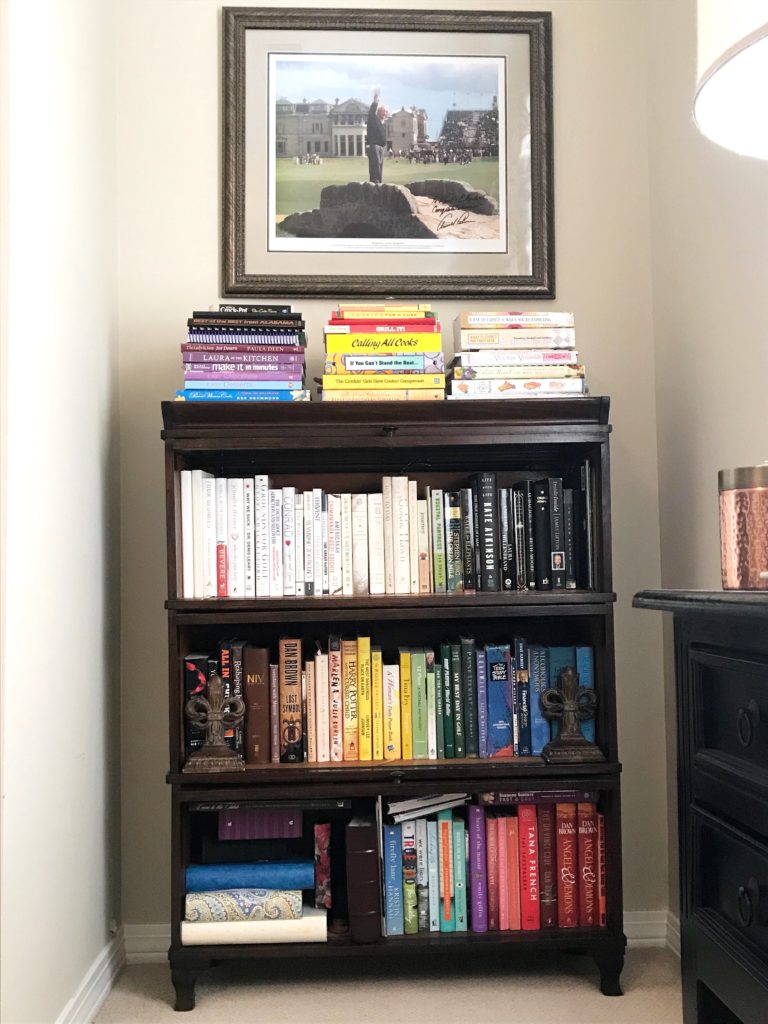
The cookbooks on top got switched to stacks instead of the unlevel, upright position they were in. There’s a lot more yellow in those cookbooks than I would like, but since I don’t have Erica Berry’s kitchen from Something’s Gotta Give (that post here) and nowhere to put my cookbooks in my kitchen, this will do. I like it much better already.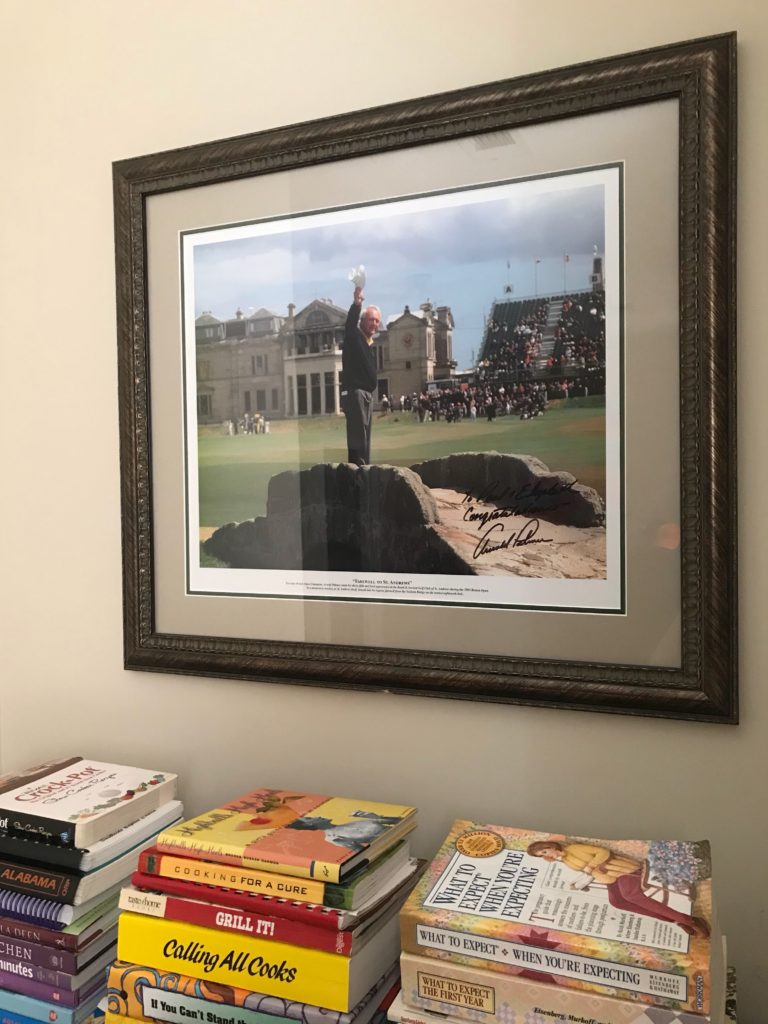
I also decided to hang a picture over the bookshelf. Paul went to school with a guy that works at one of Arnold Palmer’s golf courses, Bay Hill. For a wedding gift, he got Mr. Palmer to sign a photo for us. But it wasn’t just a photo, it was a large print that he personalized for us. It was so special to Paul, and we had it framed so that we can enjoy it always. (Thanks, Josh!) I think it looks lovely hanging above the bookshelf, and I don’t know why it took me so long to decide it belonged there.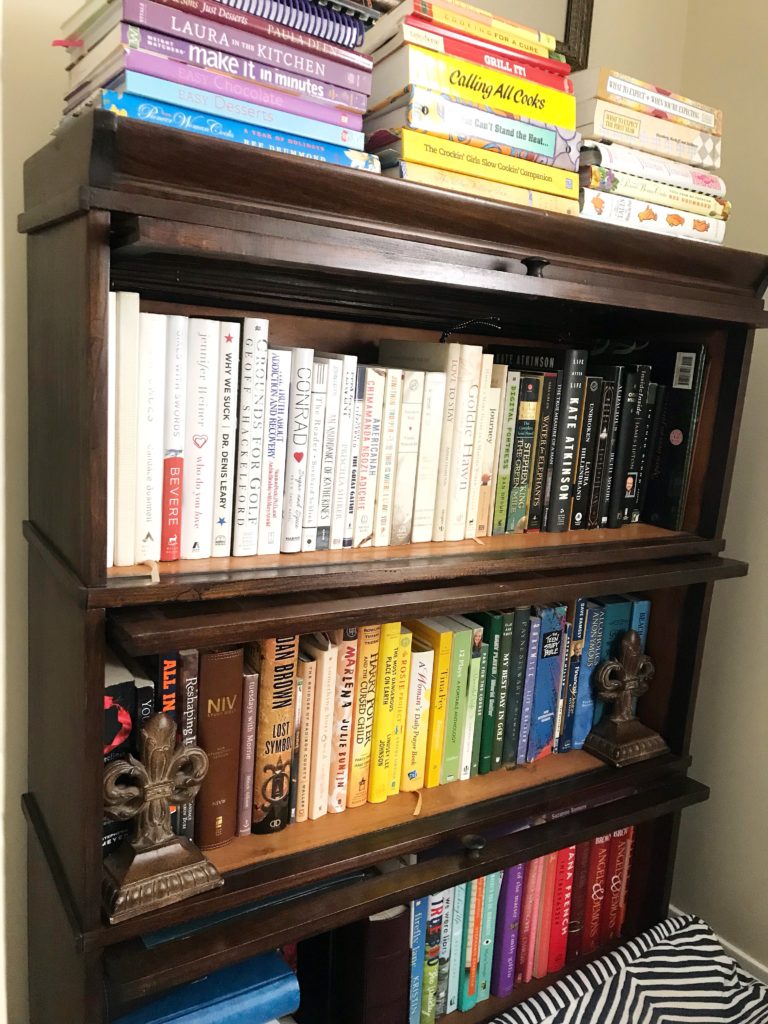
I know this wasn’t a drastic change, but I love when something small makes a big impact. I hope that you’ve gotten some ideas on how to update your bookshelves or inspired you to hang a fun photo. Do you arrange your books in any certain way? Do you hoard books like I do? Do you have any special photos, posters, and/or works of art? Let me know in the comments.
Bathroom Makeover- Before
BATHROOM MAKEOVER- BEFORE
I wrote a Thursday Thoughts post yesterday saying how I couldn’t believe that we’ve been living in our apartment for almost a year and a half. I also mentioned that I’ve got some big and fresh ideas for our apartment to make it more functional for us. It seems to be my pattern to need to live in a space for almost a year before I really know what I want to do in it. If I want to change anything, paint anything, add anything, etc. I have come up with some ways to help make our bathrooms a little prettier and use the space we have to be super efficient.
I have always just known when a house or apartment was right for us. When we bought our house in Louisiana, I went to see it without Paul and knew right away that it was our house. I told him I thought it was the one, he came back for a second visit with me, and we just knew it was right. I sort of felt that with our apartment now, but it was in a different way. I knew we were going to move in to this apartment when we decided to move. It was a bit of a site unseen situation, but I knew I had to trust that it was going to be alright. When I finally did see it (just before we moved), I knew that it was right. It was smaller than what we were used to, but it was going to work for us.
Front Bathroom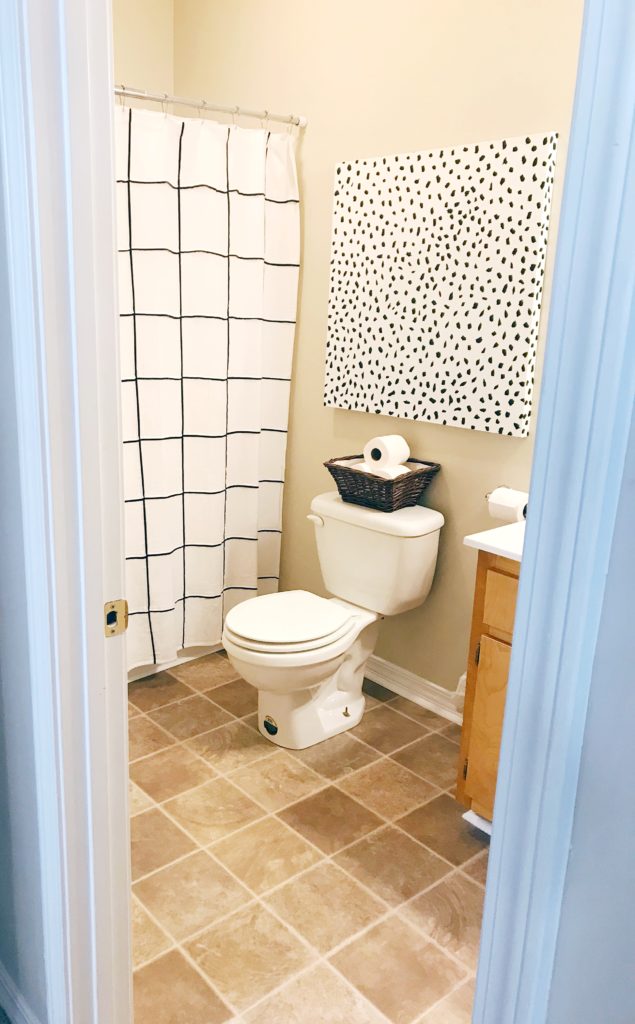
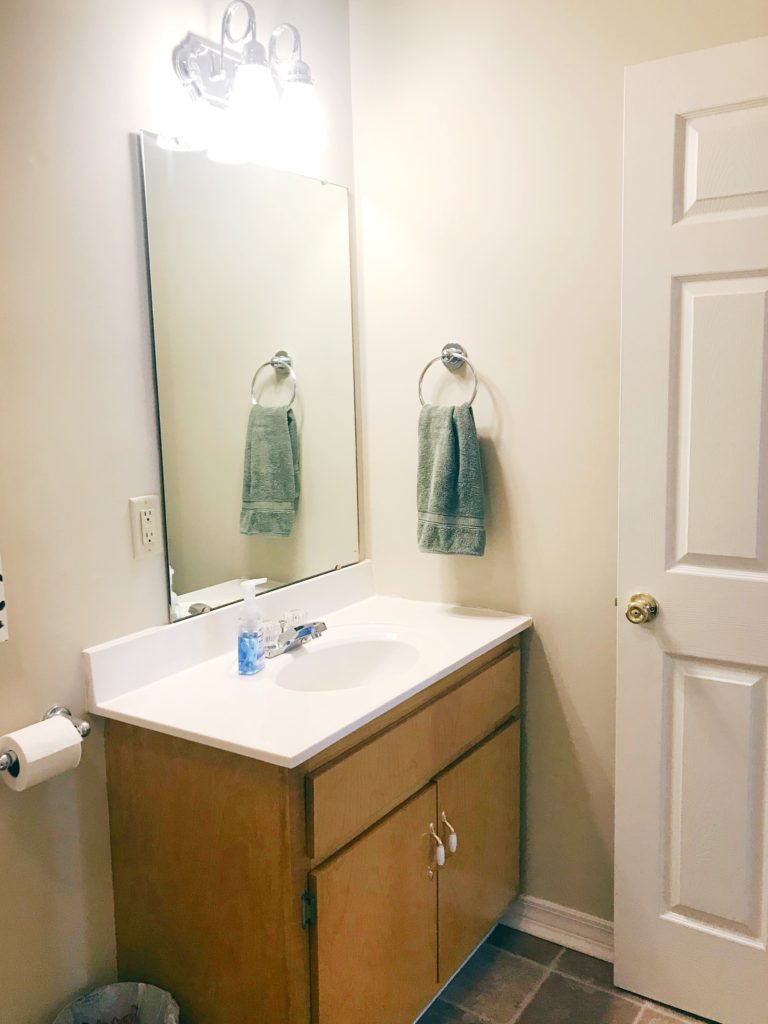
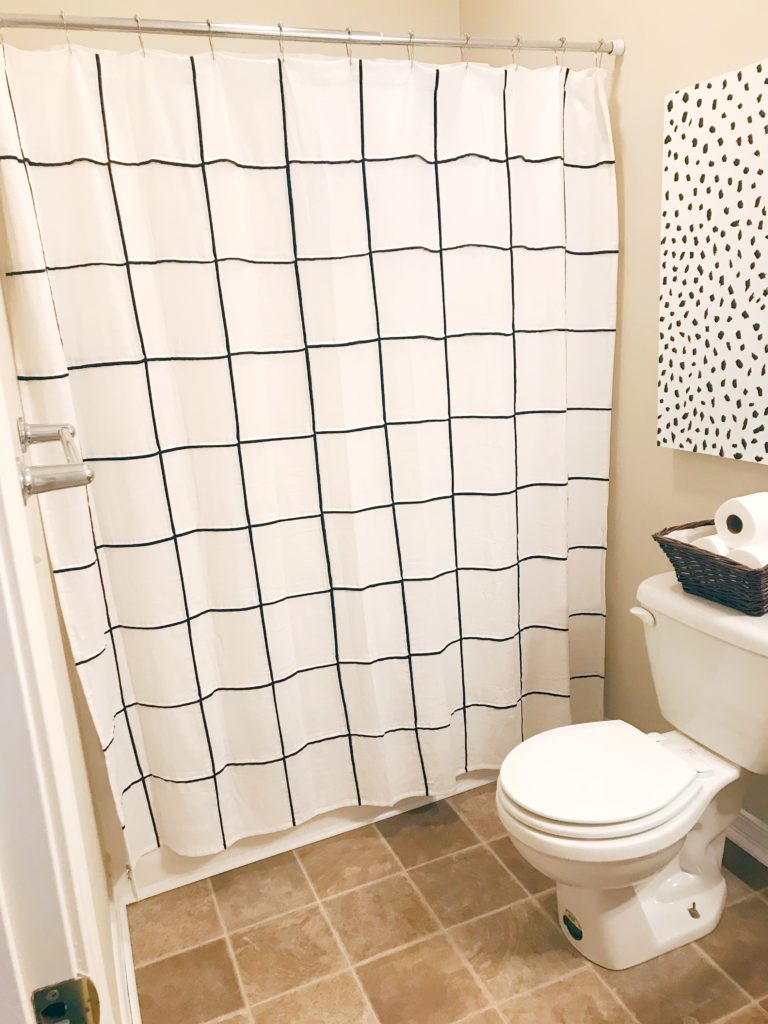

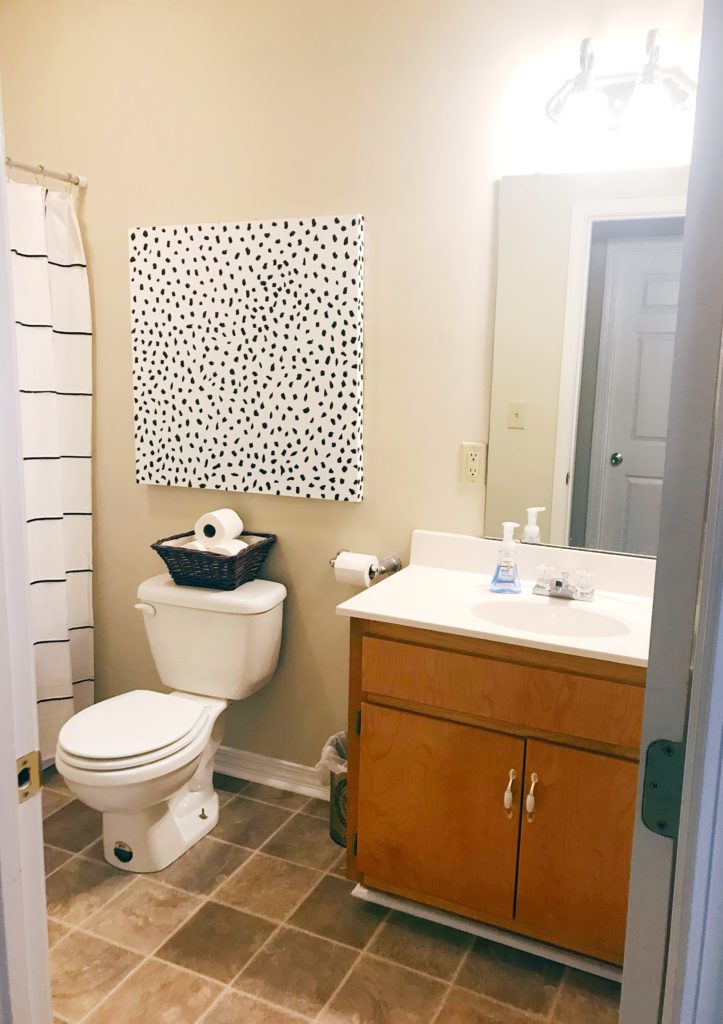
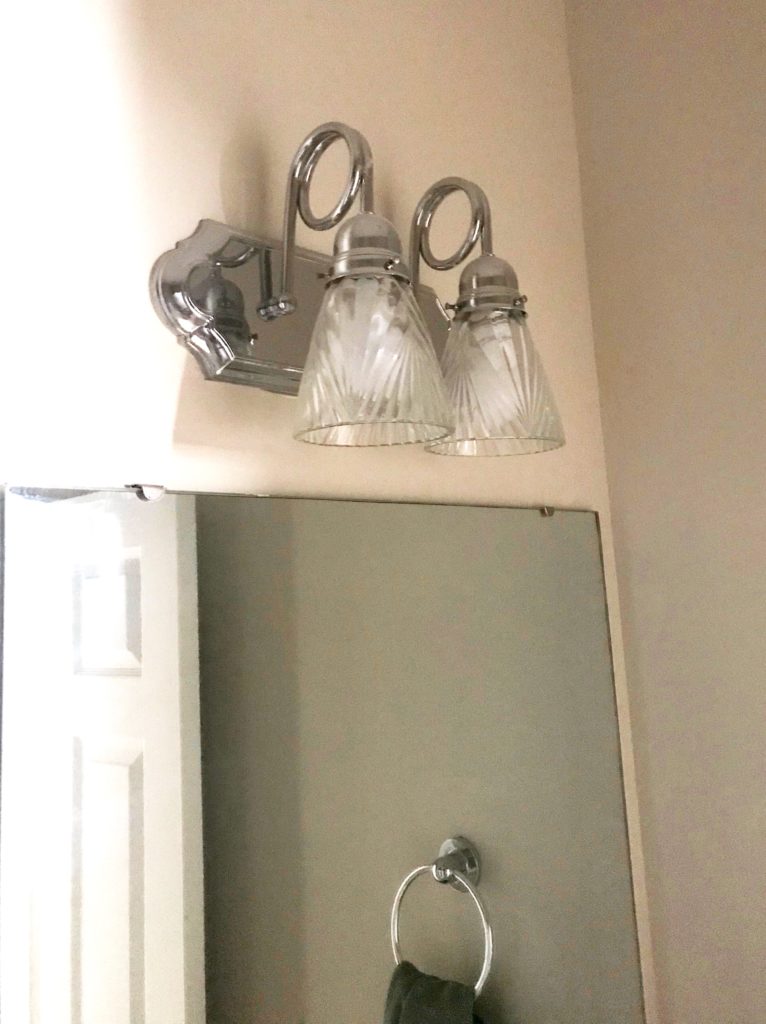
I’ve had a tough time figuring out what to do in this space. Part of that was because I didn’t know how long we’d be here, and I didn’t know if it would make sense for me to do anything to it. If I wasn’t going to be here long enough to enjoy it, I’d probably not want to invest the time, money, and effort into making the changes. But as I mentioned in yesterday’s post, I am feeling quite happy here in this apartment. It seems to be the right time to customize the things we can and want to do, because we don’t plan to leave anytime soon.
The previous tenant had the bathroom walls repainted, but the job wasn’t up to my standards. I know that makes me sound like a snob, but there were paint brush hairs stuck to the wall. Nothing wrong with wanting to fix that. Also, I really wanted it to be bright and white. The beige color is a bit warm for my liking, so at the cost of a gallon of paint, I could really make this space over.
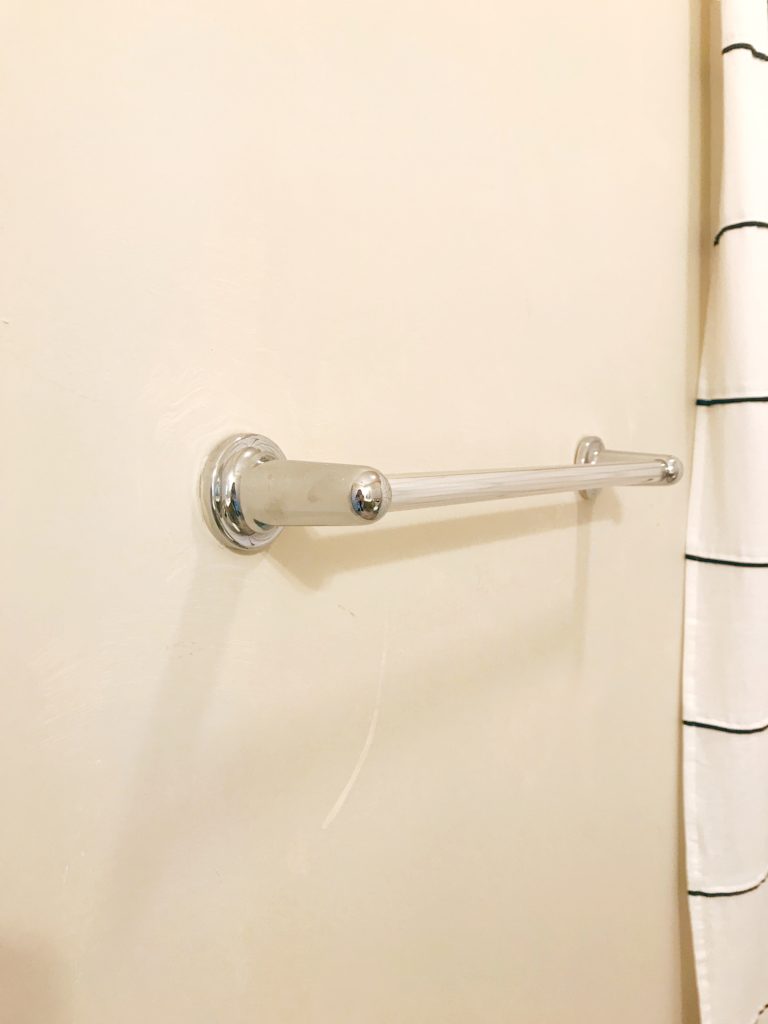
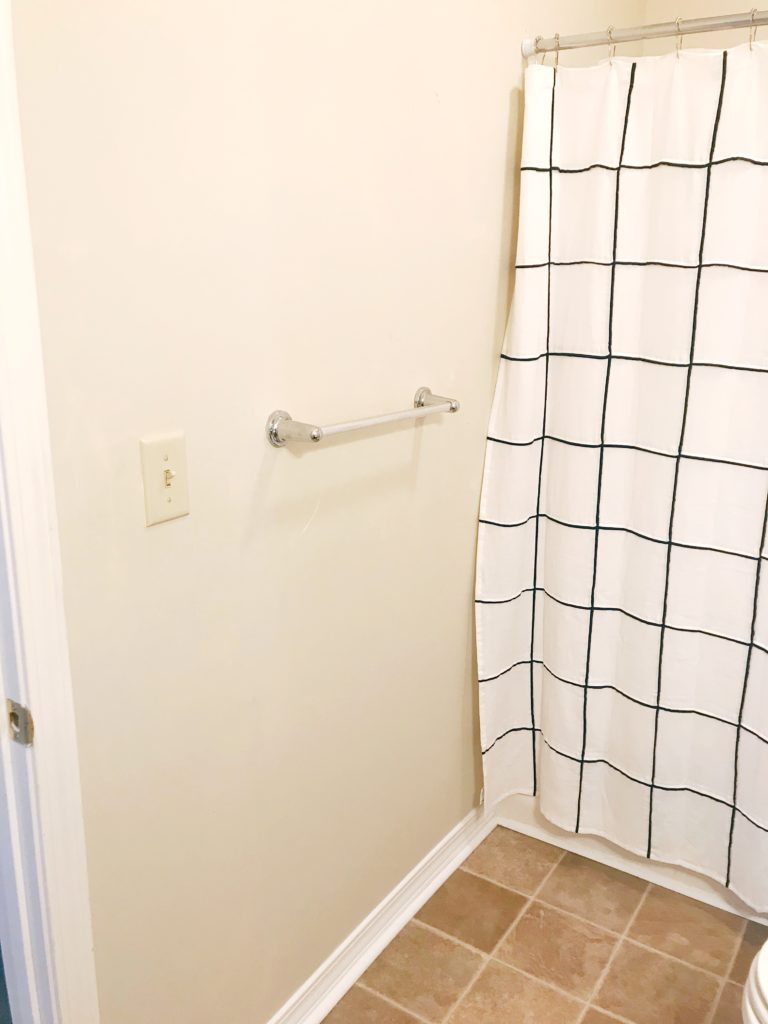

The Plan
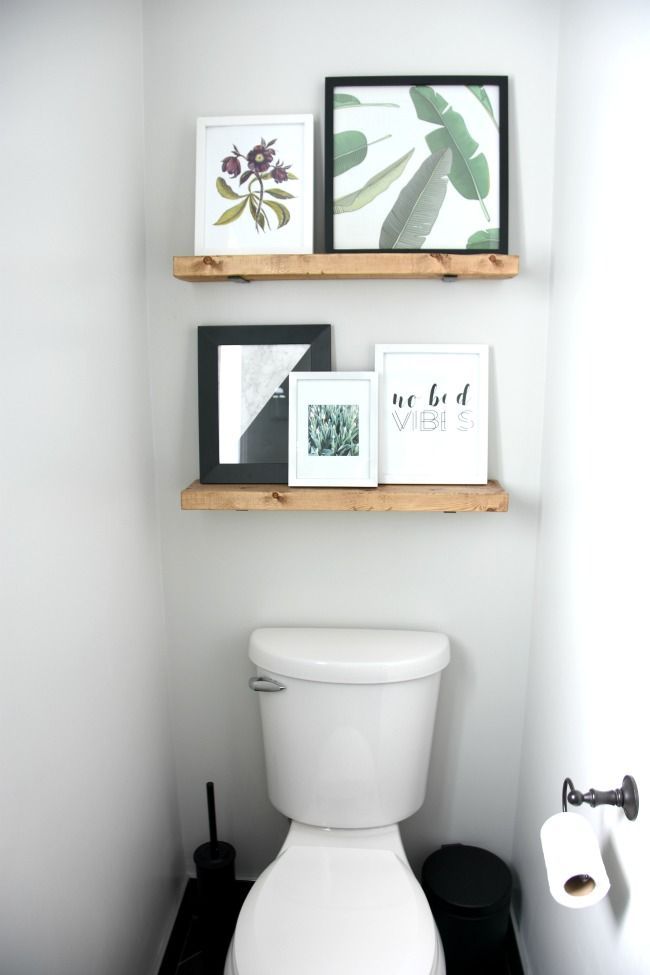
I want to first say that there is ABSOLUTELY NOTHING wrong with this bathroom. Everything works perfectly. I just wanted to make some changes that make it a little bit easier on the eyes…well, my eyes and that would make it function in the best way possible.
Here’s what I’m planning to do:
- Paint the walls, baseboards, and door bright white
- Paint the vanity black
- Change hardware on cabinet doors
- Add shelving above the toilet for extra storage
- Rug or runner
Things I’m keeping:
- Light fixture
- Faucet
- Shower curtain
- Flooring
- Shower/Tub insert
This will in no way be a gut-job. It’ll be a little mini-makeover. Like getting your hair and makeup done. 🙂
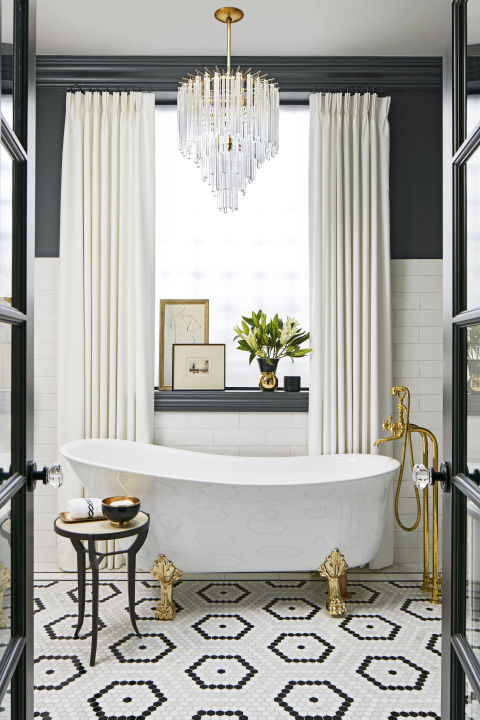
Here’s the inspirational photo that most accurately shows what I could do in my bathroom.
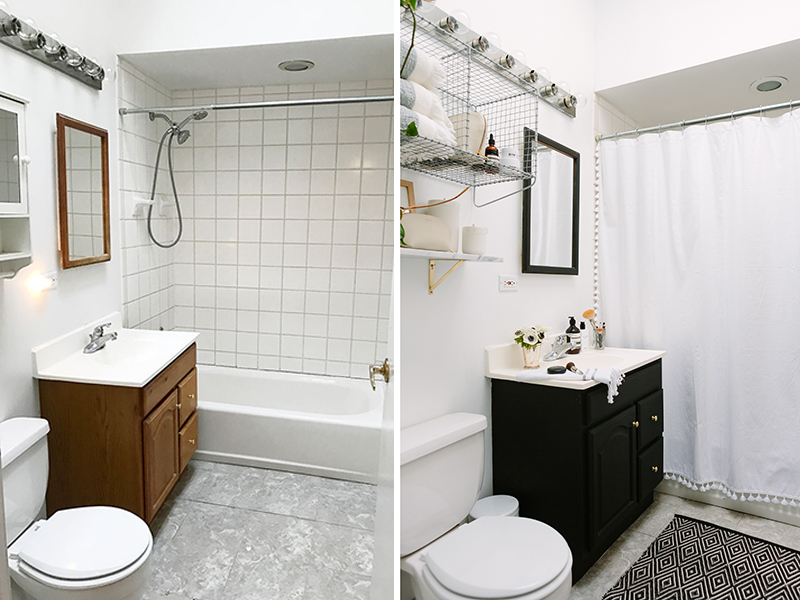
I’ll keep you updated on the progress. The colder temps deter me a little from painting because it doesn’t dry as well. I’m hoping it’ll be a quick weekend project, though. I’m looking forward to putting this in motion and showing you the results.
Have any of you done a mini makeover? How did it go for you? Let me know in the comments.
Have a great weekend, y’all!
Classroom Reveal
CLASSROOM REVEAL
In my July Favorites post I told you guys I was changing jobs and heading to public school to teach third grade. Now that school has started and I’ve gotten into the swing of things (kind of), I’d like to share the makeover I gave my classroom.
The Before
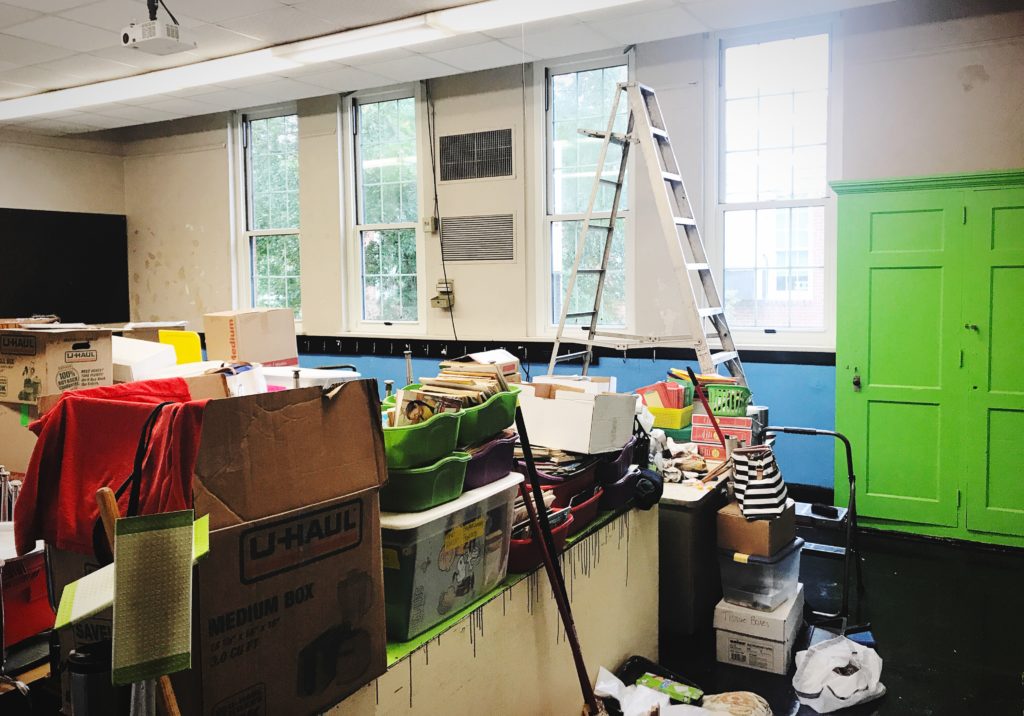
I came into the classroom after the Beautiful, wood floors had been waxed maybe one too many times, so my classroom was in a bit of disarray. Please forgive the atrocious state of the room with the ladders and pile of literally everything in the middle of the room. 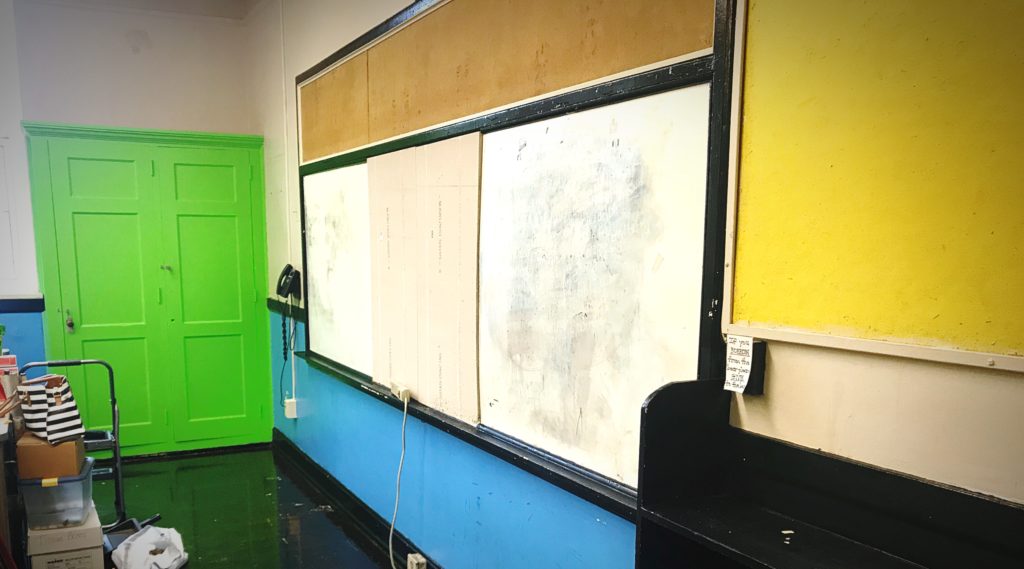
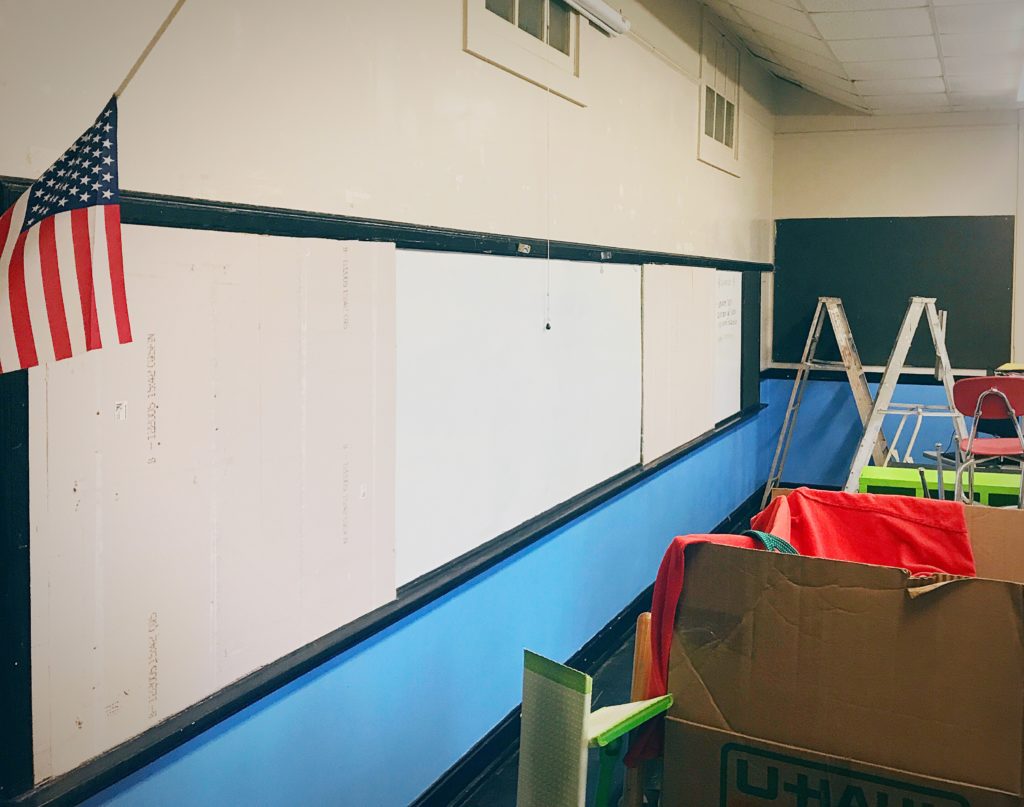
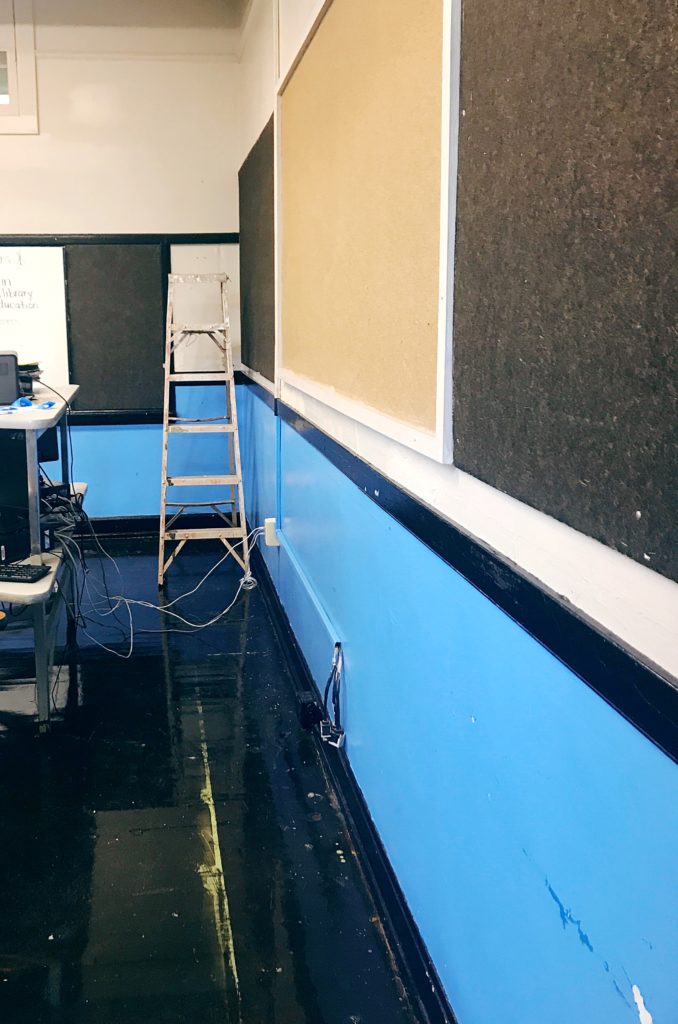 The floors look wet. They are so dark and lacquered within an inch of their beautiful lives. The hallways are a lighter color, but still a lot of varnish there too. It is such a charming building, and I love that it is a place that has educated many, many people. I can’t imagine how many teachers have been in just this one classroom. I love that it’s a building with so much history. I do think Nicole Curtis needs to take a trip down to Alabama and come feature my school on Rehab Addict. She could make this place amazing!
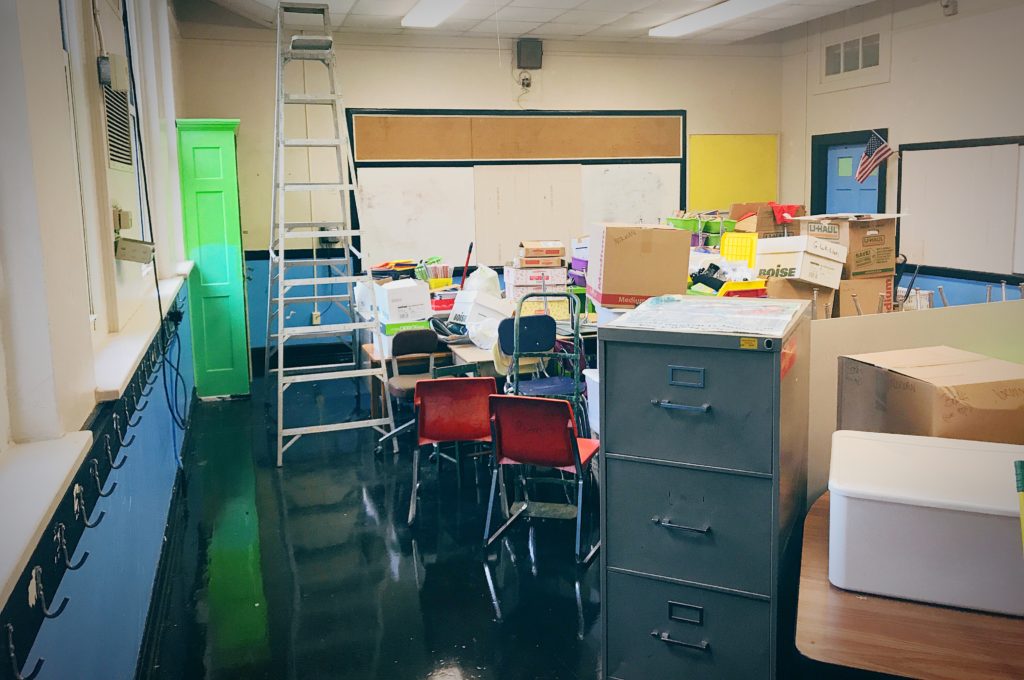 The picture below shows how bad the paint was peeling off. It really needed a face lift.
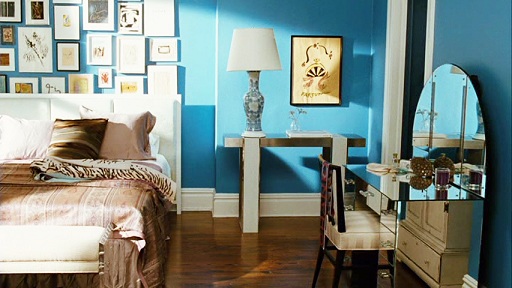
 Okay, so I have to say that bright blue is one of my favorite colors. I mean, don’t y’all remember Carrie Bradshaw’s apartment in the Sex and the City movie…perfection.
  Also, my teenage bedroom was four walls of that same lime green as the cabinet. I love bright colors, but I wasn’t feeling it when I walked into the classroom. So I decided to head to Pinterest to find some inspiration. I saw this image and new right away that I was headed in a farmhouse direction. Of course Chip and Jo would do something as adorable as awnings and window boxes INSIDE the classroom.
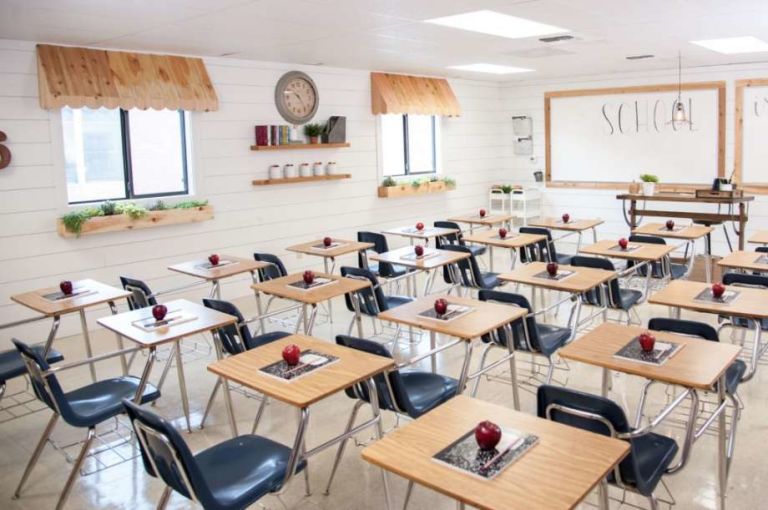 My search led to many more classrooms with a farmhouse theme. You can check those out on my Classroom Ideas Pinterest Board if you’re a fellow Pinterest nut like I am.
I started to get a vision of what I wanted, and with the help of my parents and my husband, the room was painted and things were on their way! I decided to go with a neutral palette for the room and accent with mostly yellow, but also some green. I used Kilz brand paint in Starched Linen for the walls and Kilz paint again for the built-in cabinet and free standing cubbies but in the color White by Glidden. All the paint came from our local Walmart. I mention the Kilz brand because, Holy Moly, did it cover those bright colors well! The walls only took two coats, but I did give the cubbies and the cabinet three coats. For the black trim, we just used a little quart of Rust-Oleum in Glossy Black for touch-ups.
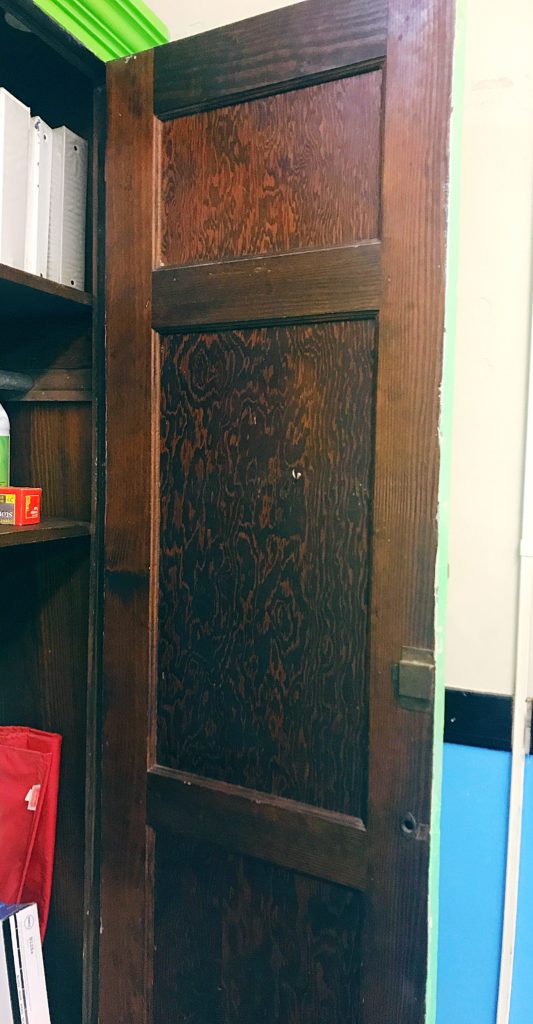
You can see that the built-in cabinet has been painted many times in it’s day. 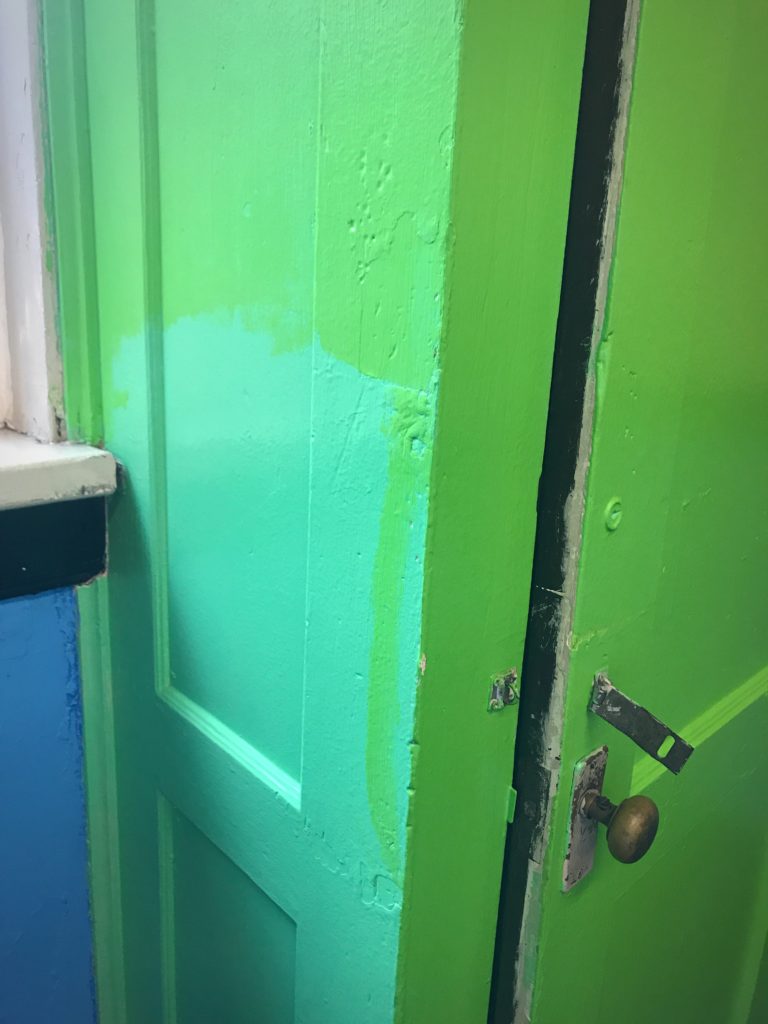 I can totally understand painting a built-in, but when I opened this thing and saw the luscious wood inside, my heart sank. I can’t believe how gorgeous it is. Why would anyone want to paint that?!?! My dad did say he would try to get the outside back to what it was originally, but there just wasn’t any time. Maybe next summer…right Dad? 🙂
The After
Let’s start at the entrance. Out in the hall we have a Hollywood theme. Back to Pinterest I went for inspiration. I pinned so many ideas on my Bulletin Board Ideas board, so feel free to visit and see them all. My mom wanted to know what I was thinking about doing, and when I showed her the picture of the marquis I liked, she said she had everything and would gladly make it for me. Bless you, Mama! I love how it turned out! And, bonus, none of my students forget where my room is because of it.
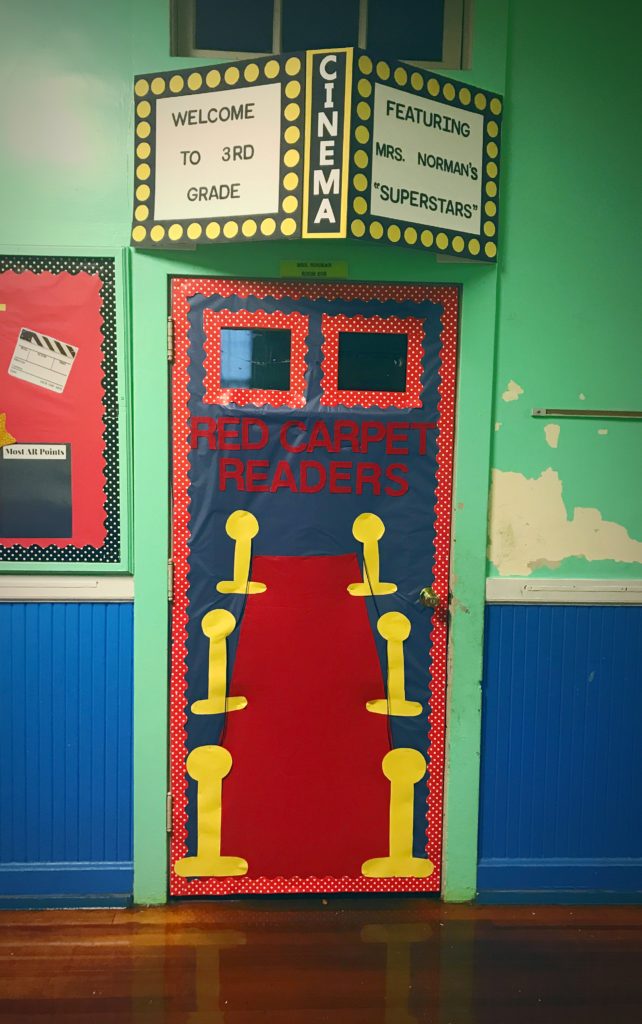
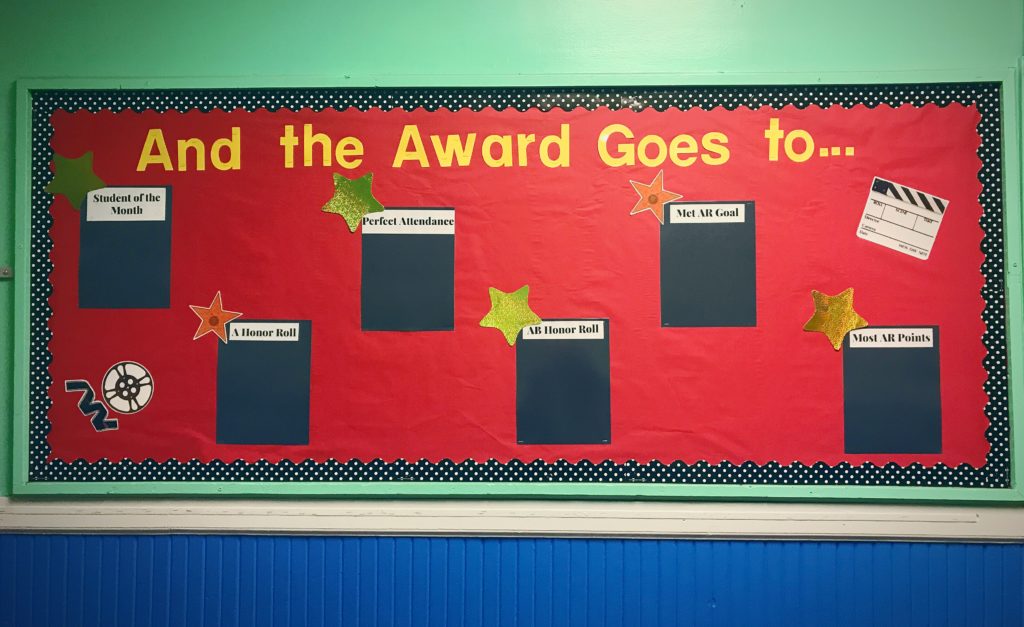
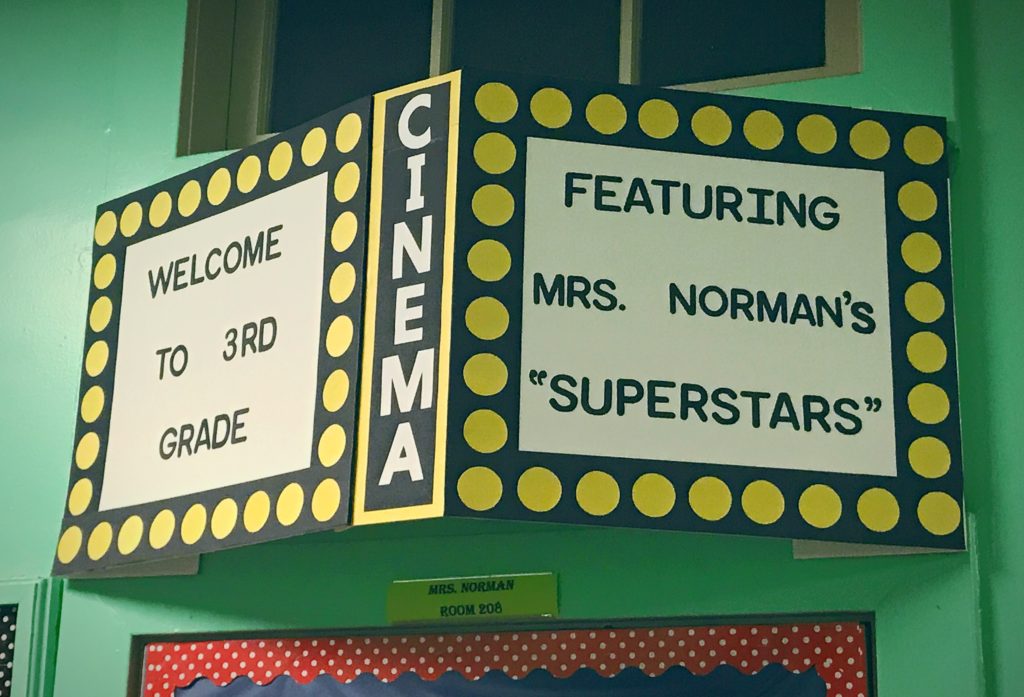 Now come on in.
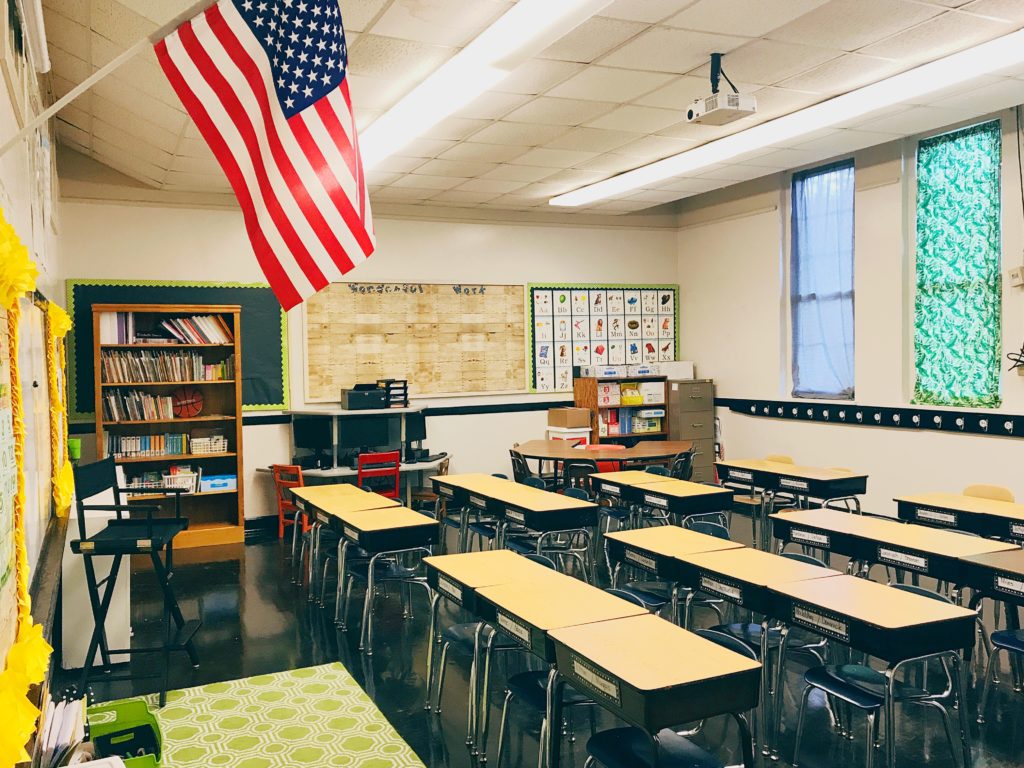
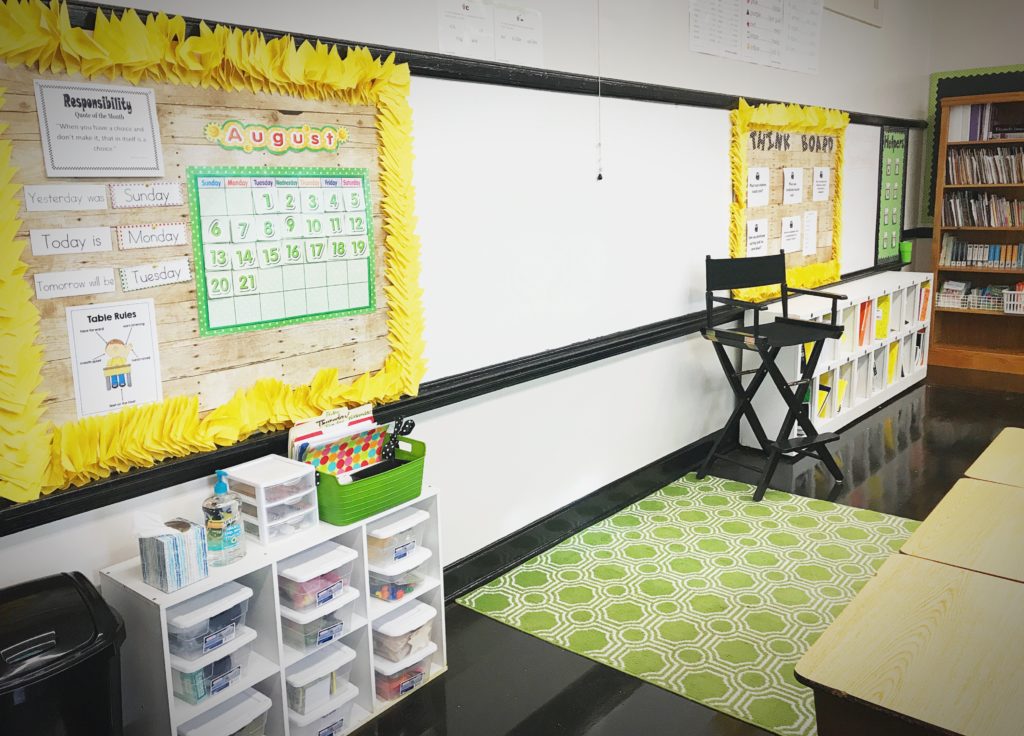 The director’s chair came from Mrs. Ellinor who was at that giant yard sale that goes on for miles. (I can’t remember the official name.) Mom told her to be on the look out for one, and I prayed she’d find it! She must have too, because she did!! Thanks for finding this for me, Mrs. Ellinor, and bringing it back home! It’s so fun and easy to move out of the way when I need them to see the entire board.
The rug is from At Home and makes the room feel a little warmer and welcoming. Mom and Dad scored that one for me one afternoon. I love it. 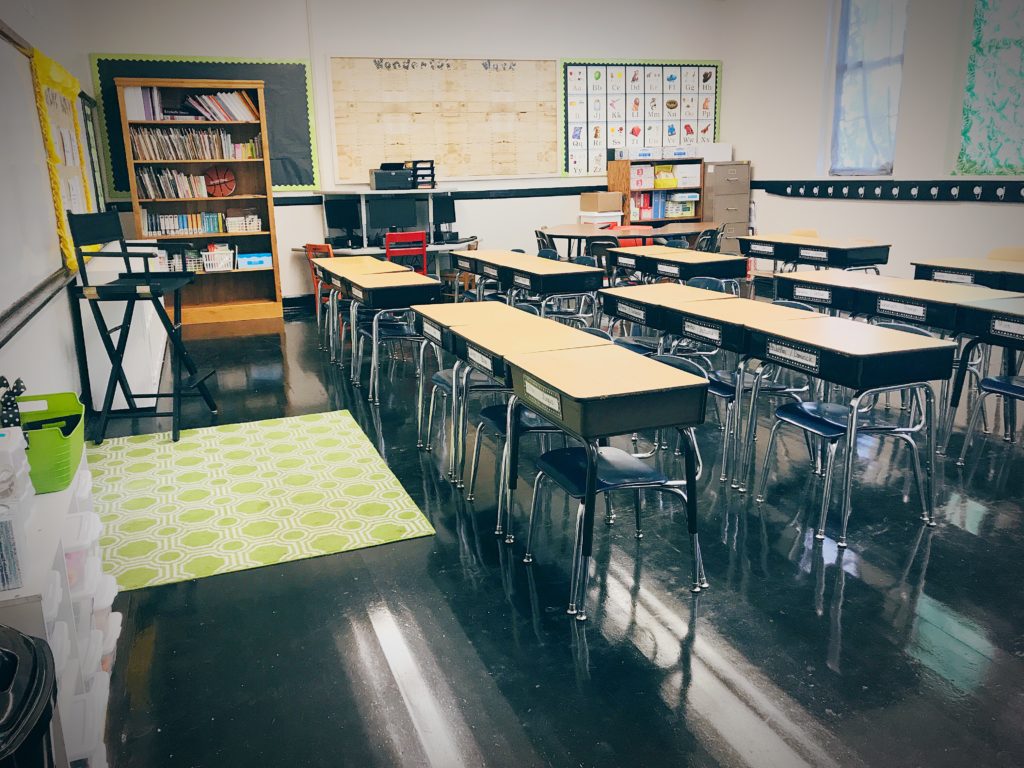
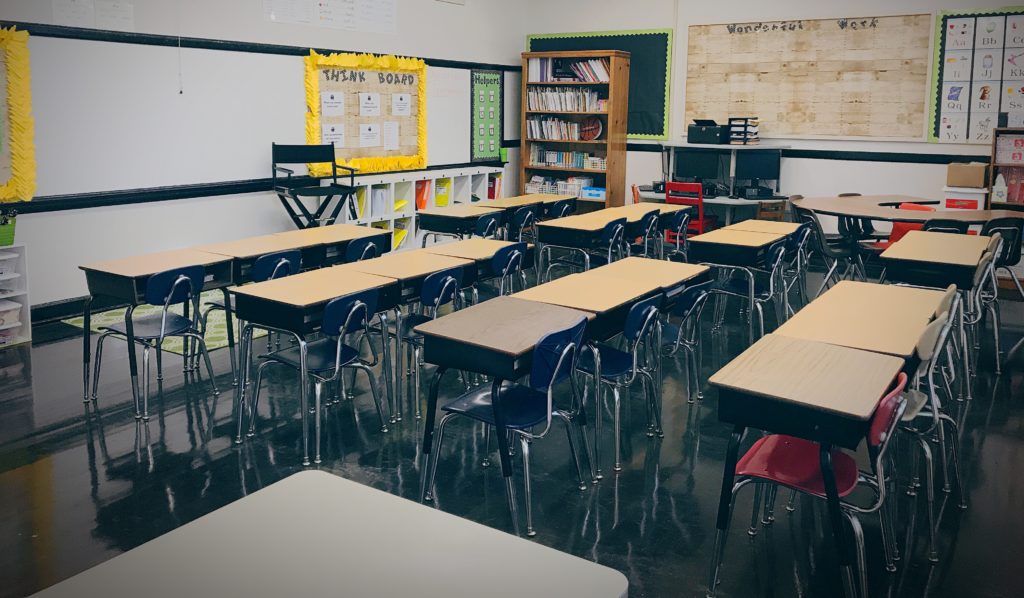
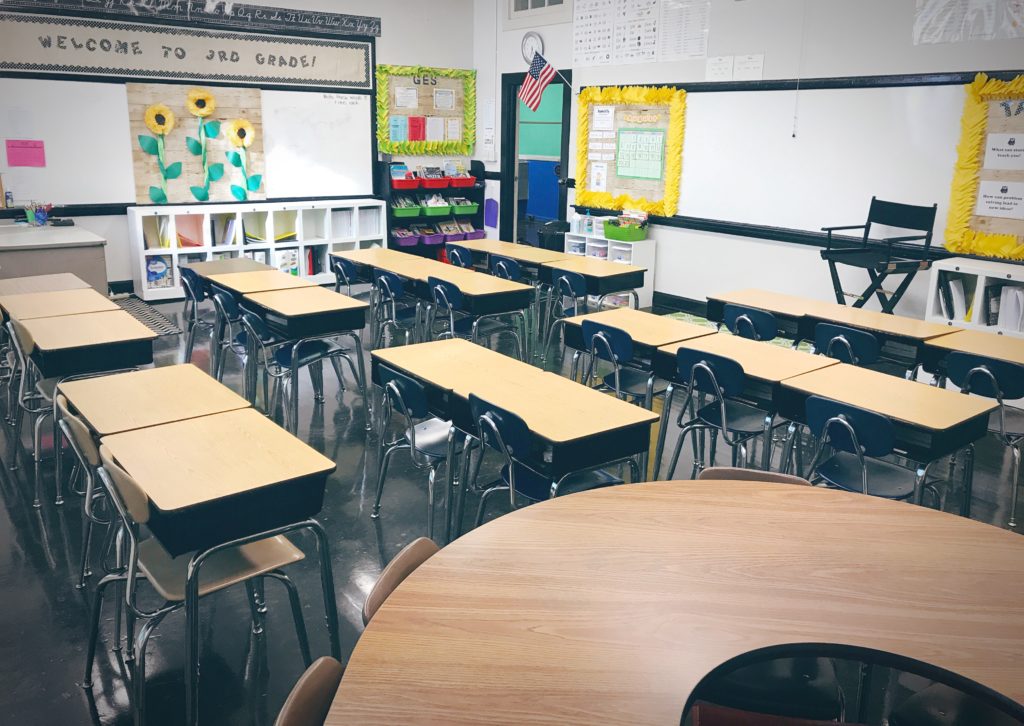 Okay, let’s talk for a second about the SHIPLAP bulletin board paper! I saw it on Pinterest and just assumed I’d never get any. I saw it on Amazon, but I thought it was a bit expensive, so I decided I’d just use regular paper in black, green, or yellow. But a trip to Davie’s in Montgomery made my dreams come true! I love it so much! I’m trying to find a way to make it work in my house. 🙂
  The cubbies look so great painted white. I know they’ll get so dirty by the end of school, but I just love how bright and clean they look right now.
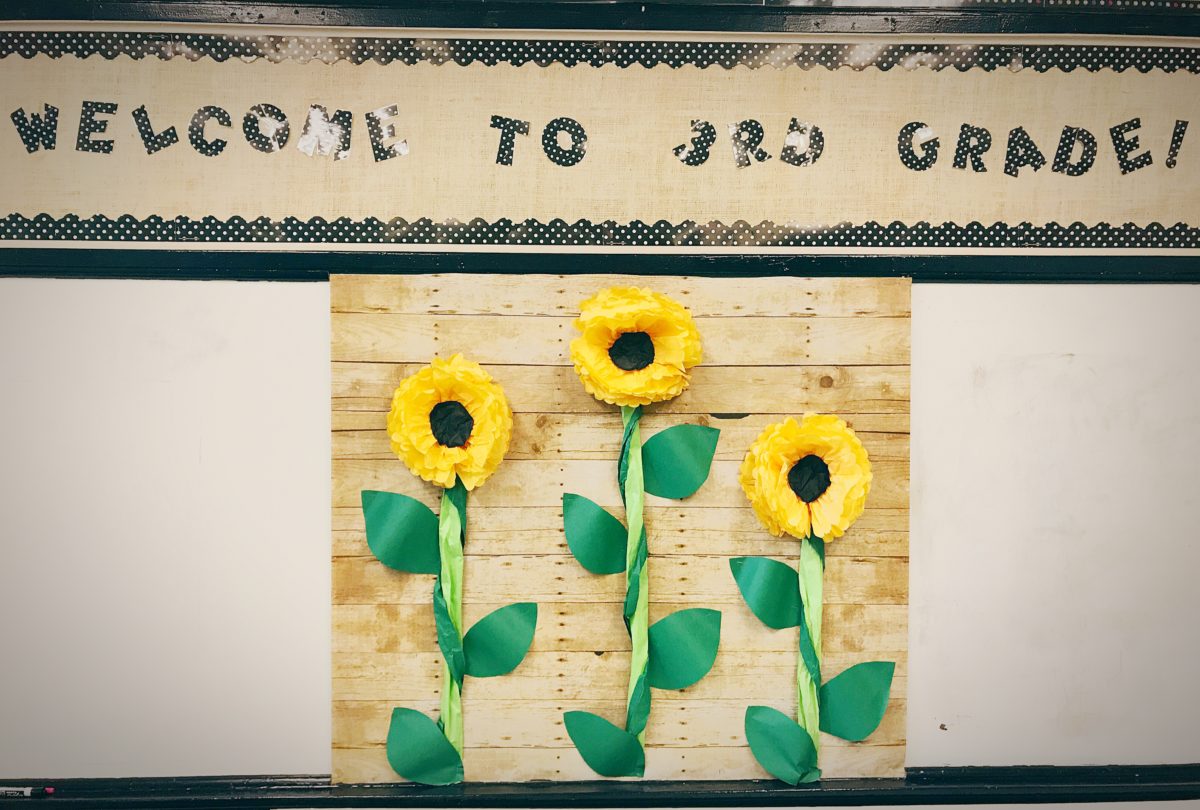
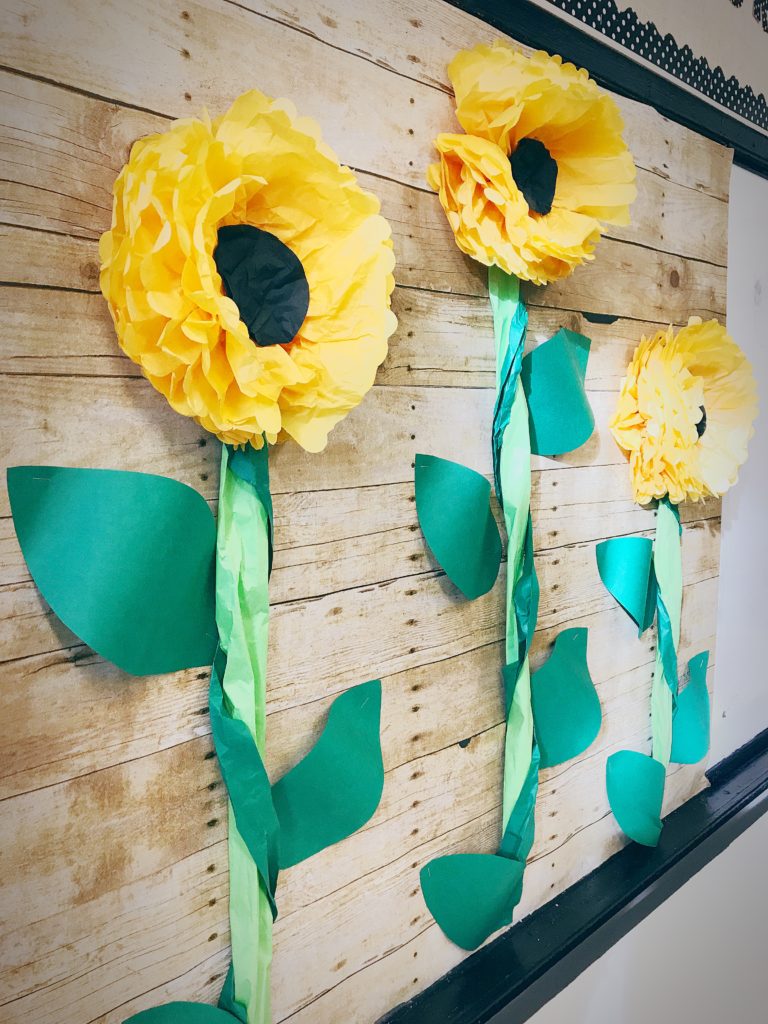
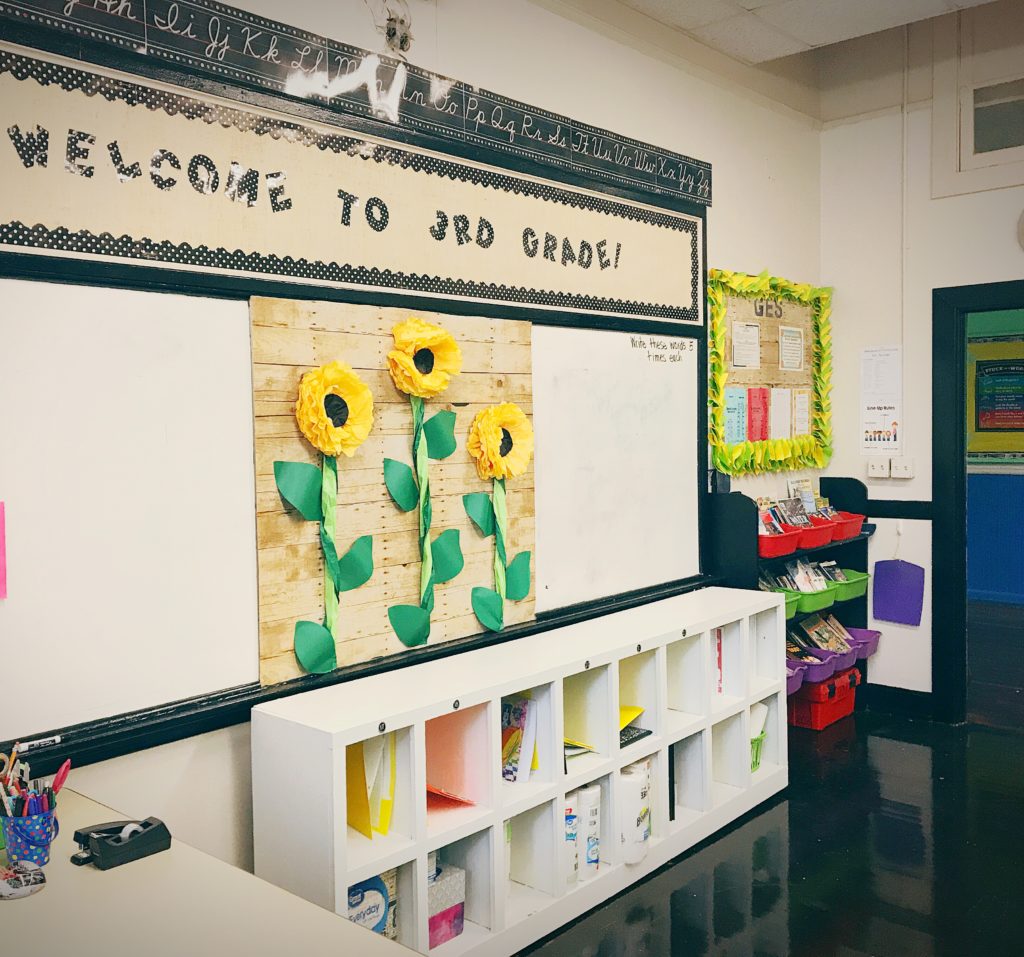 The sunflowers are those tissue paper pom poms from Dollar Tree flattened down. I made the rest of the flowers from bulletin board paper.
 My boarder is napkin squares stapled very close to each other. You just buy about 250 cocktail sized napkins, unfold them, and cut each napkin into four individual squares. I suggest watching Netflix while you do it. Haha! 😉 I just wanted something visually interesting, and when I saw this idea from Mrs. Sheila, who retired last year, I knew that I had borrow her idea.
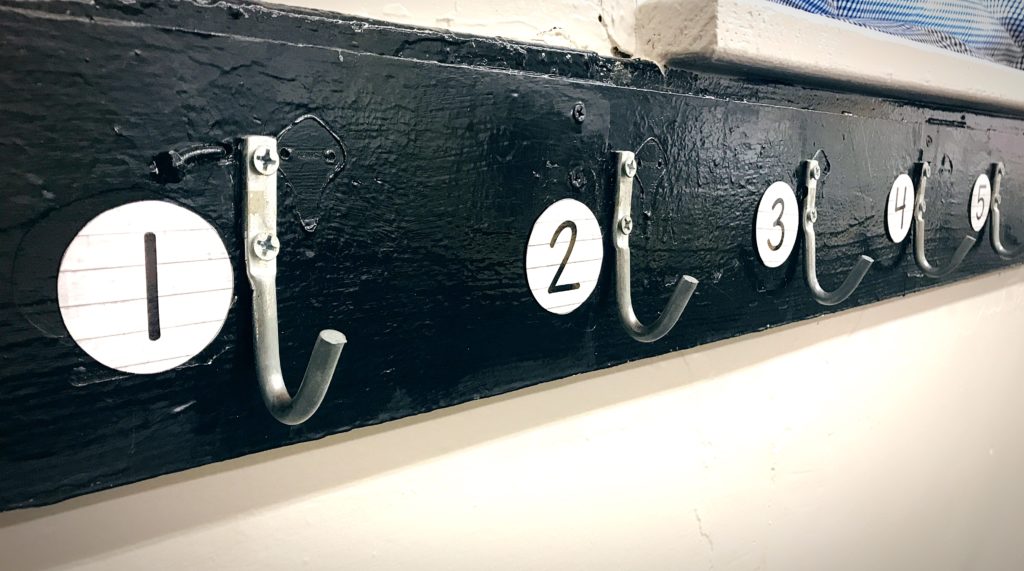
 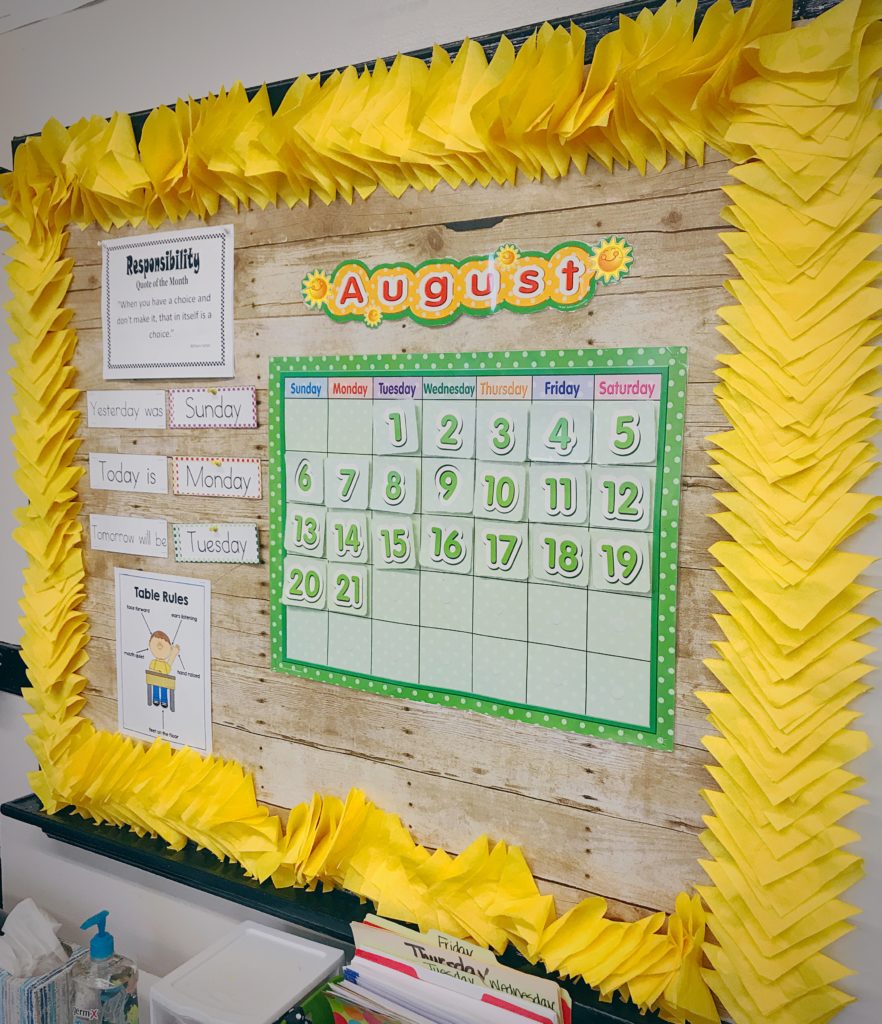 I found these precious numbers on a shiplap background on Teachers Pay Teachers. They were so cute, and being that they were shiplap, I had to say yes.
  And just a quick before and after of the built in cabinet.
Before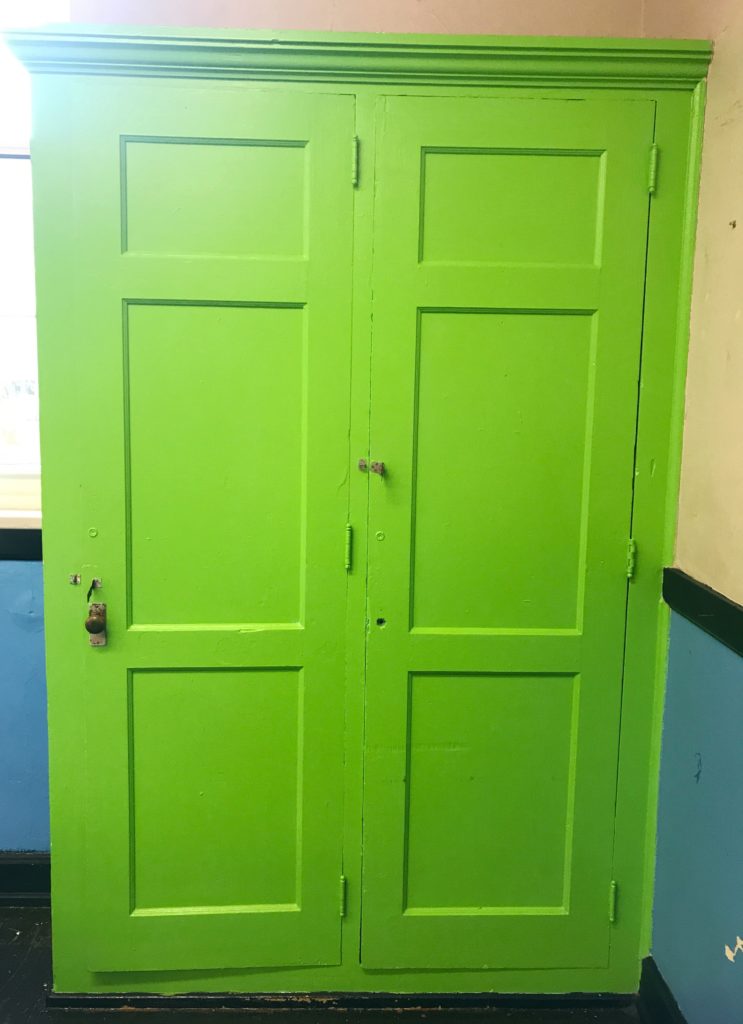 After
After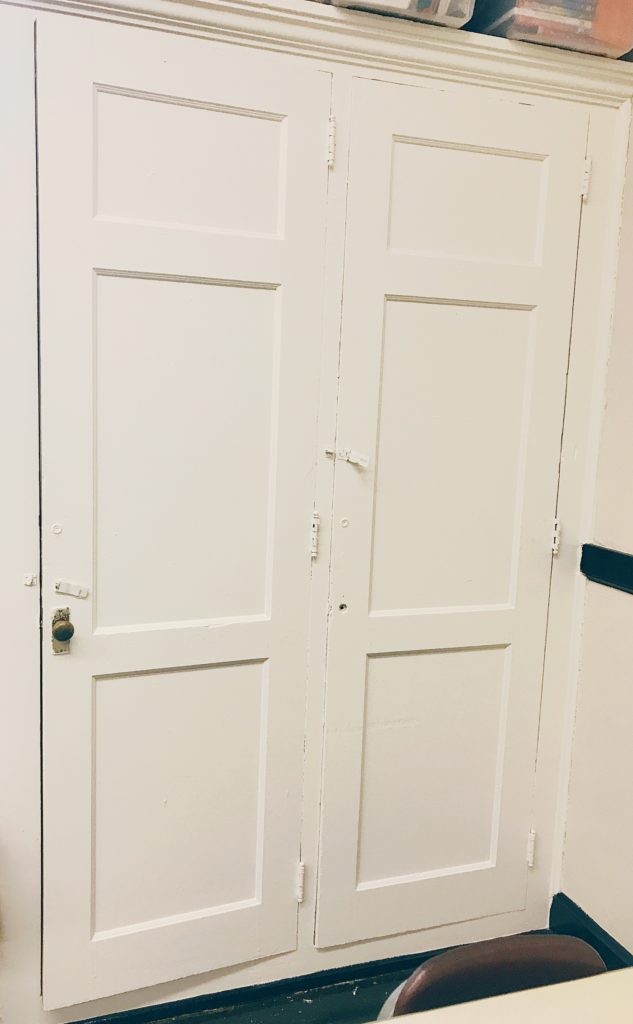 It sure is an absolute delight to walk into a space that makes me happy. I want to thank my family again for helping me make this happen. I’m so grateful they are willing to help take on projects that I come up with and indulge my creative side. It was a lot of fun getting it all done, and I couldn’t have done it without them.
  To my fellow teachers who are in the throws of the first few weeks of school, I raise my coffee mug to you! Lord knows we are tired and need all the caffeine to get us going in the morning and sometimes keep us going in the afternoons. I know they say there’s no tired like end of the year teacher tired, but beginning of the year teacher tired is real and worse. I wish you all a wonderful school year. I’d love to hear how your first week has gone in the comments.
Enjoy the rest of your weekend, everyone, and thanks for stopping by today!
Porch Update
PORCH UPDATE
Before school was over in May, I posted a Before post on our back porch. I had all of these wonderful plans set in motion to really update it and make it an awesome place to hang out this summer.
Before 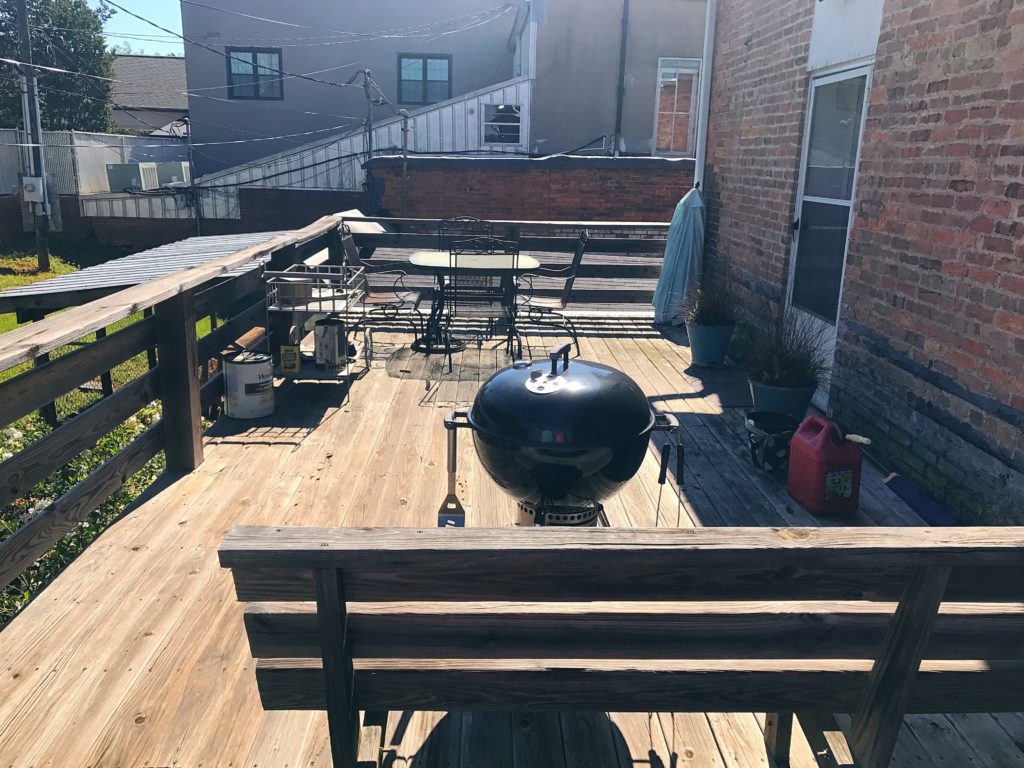
It was a hot mess (still is). I have done a bit of cleaning and rearranging, but we still aren’t finished yet.
I bought this beautiful black and white striped umbrella that I just knew was going to look amazing and fit our umbrella frame that we already own. Well….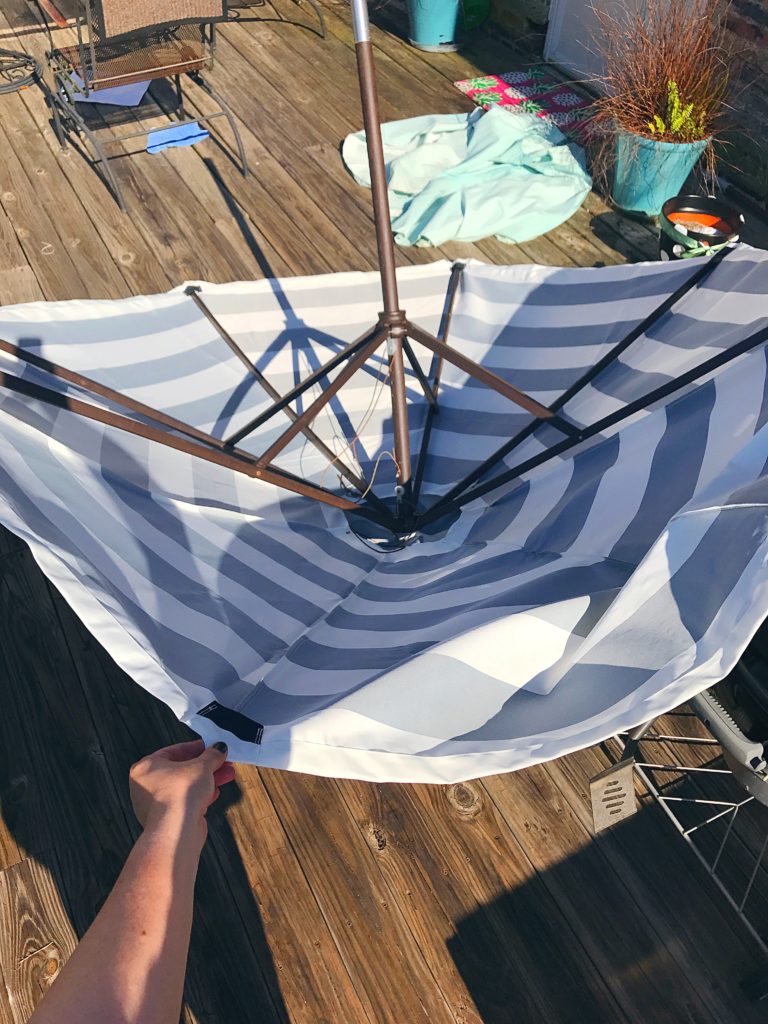 That was a big ol’ no. I spent $50.00 on the umbrella thinking it would fit our frame, then I thought I might as well just buy the new frame and stand, but that was $50.00 more, and I just didn’t want to spend that much. I can do better than that. (Just so you know, I’m still looking.)
Then, in my rearranging and cleaning process I was moving our water hose out of the way and found this! 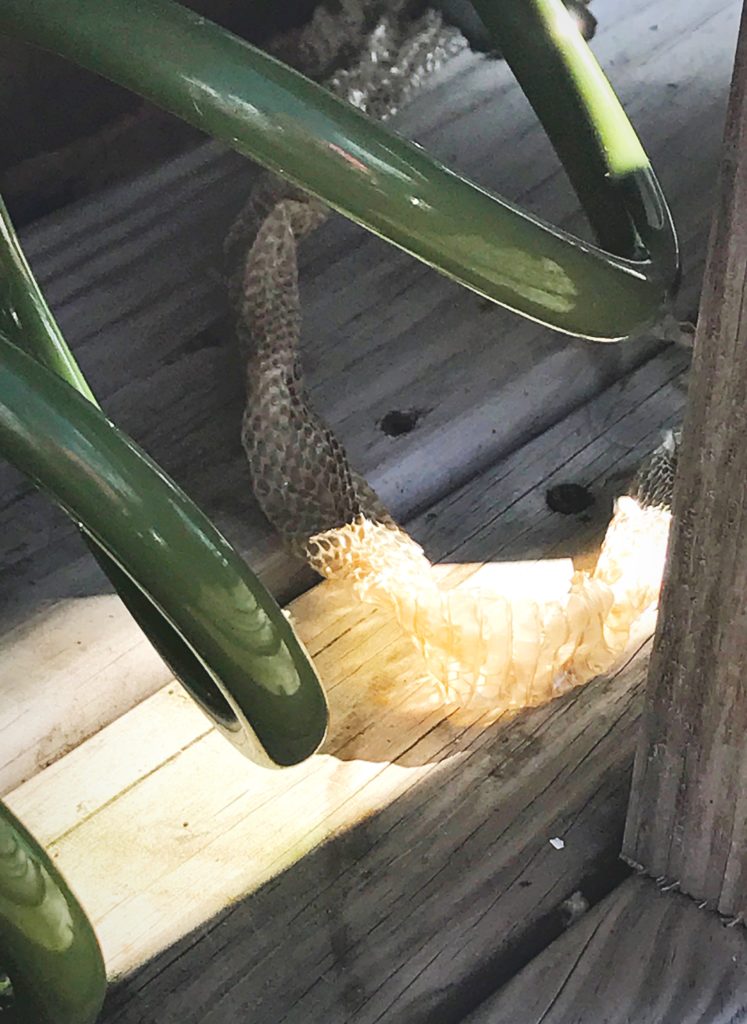 Yep, that’s a snake skin. Now I’m paranoid about snakes being coiled up along with the hose. But to look on the bright side-at least it was just the skin and not an actual snake. Pretty sure I’d have told Paul to start packing because we were moving.
Progress
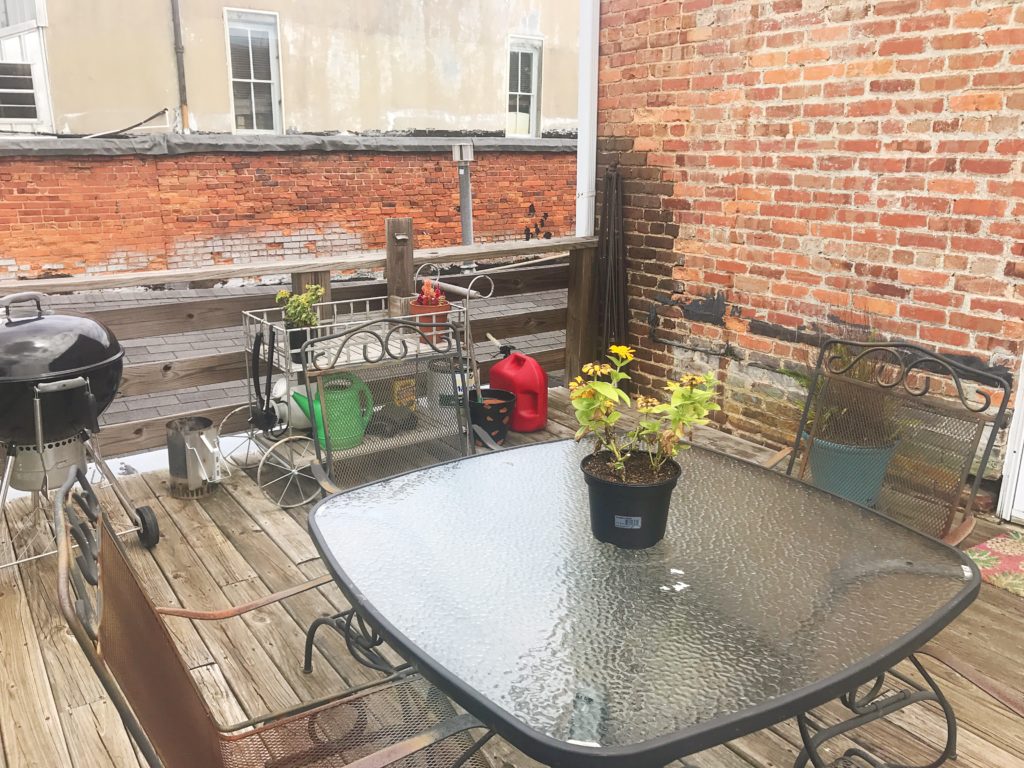
Basically I’ve rearranged the furniture. I put the table in the middle and the bar cart off to the side.
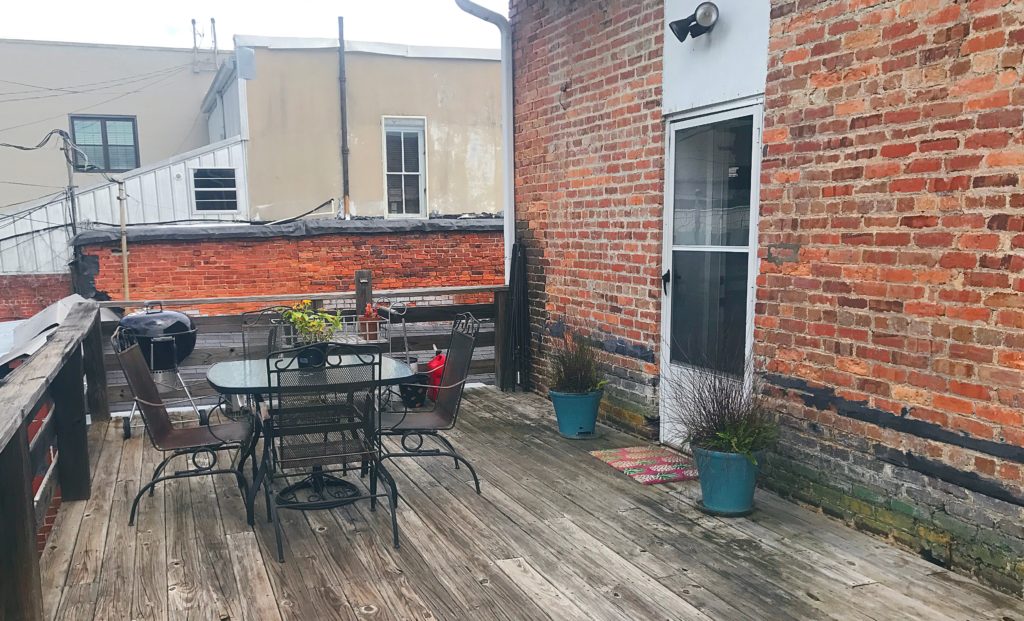
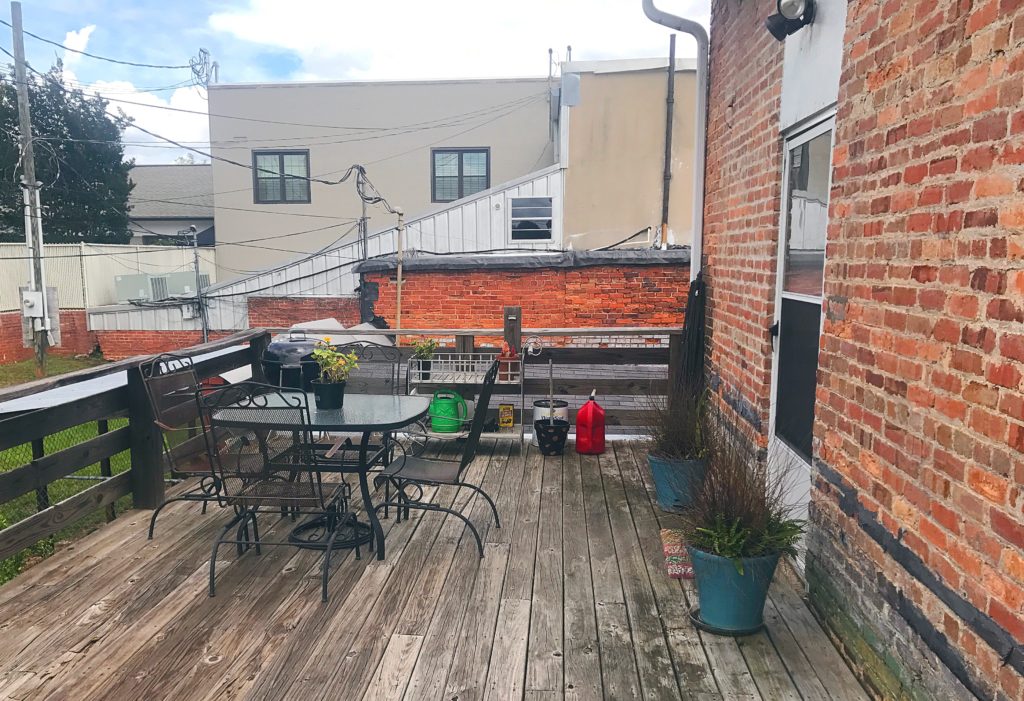
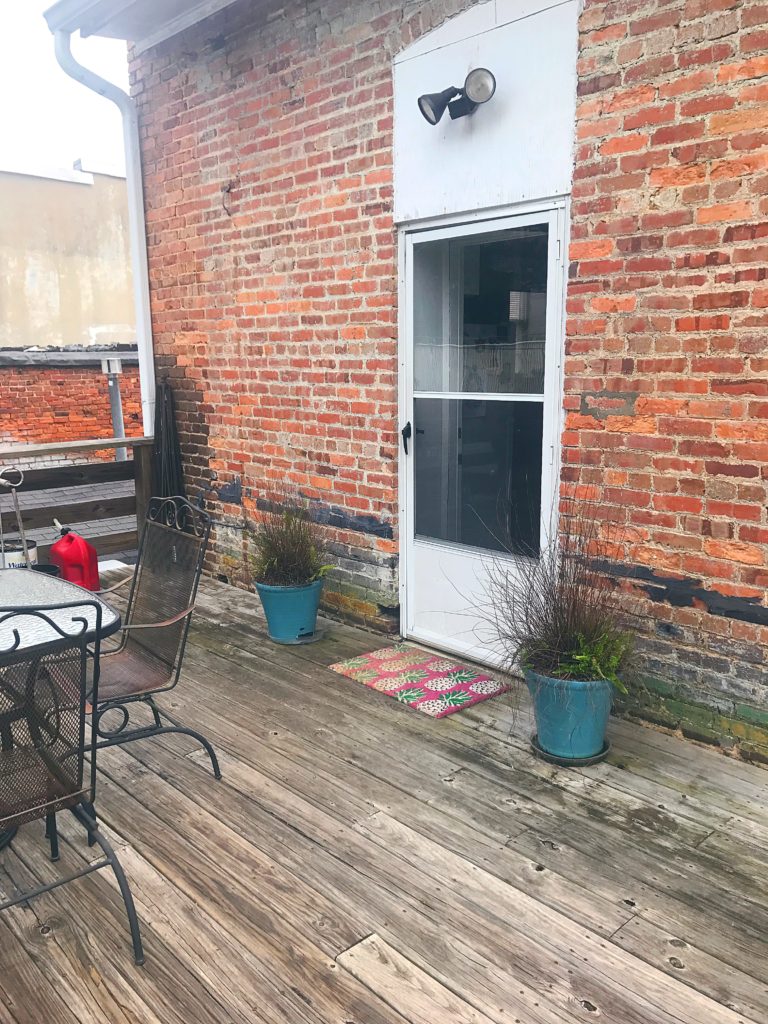
Yes my dead ferns are still sitting there. When my niece was staying with me one afternoon, she wanted to go outside. Well, she took one look at my ferns and said, “Oh, we need to water your plants.” 🙂 Bless her heart! 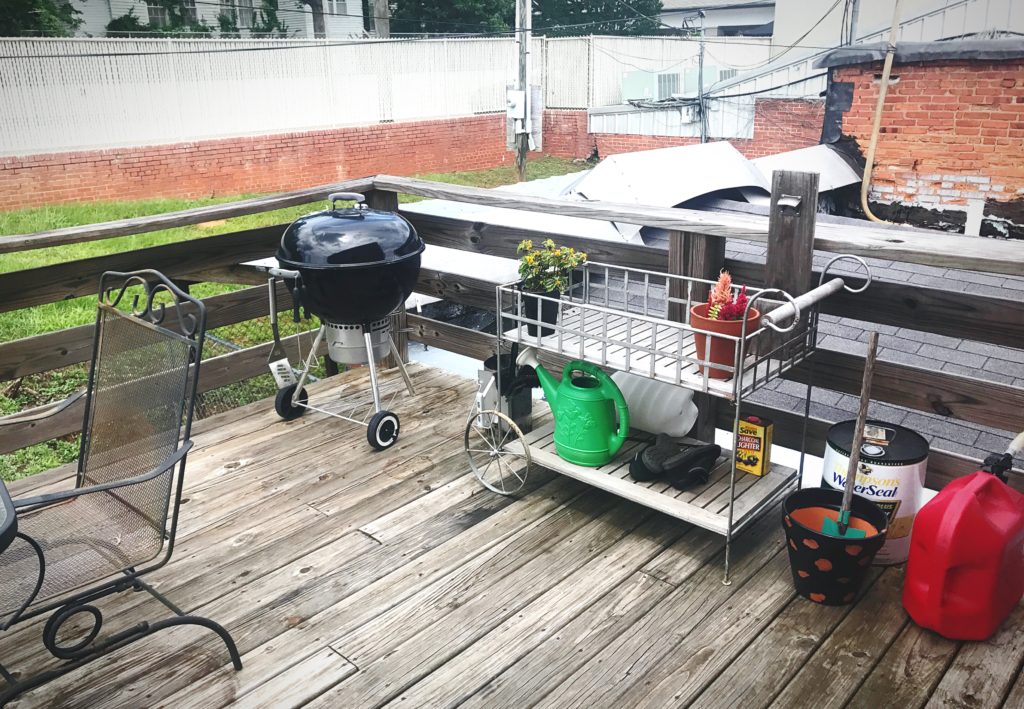
I don’t have a pretty pot for my Zinnias yet, which aren’t doing so well. My mother-in-law is an amazing gardener. She just has that green thumb that I was not blessed with. She planted the colorful flowers in the terracotta pot on the cart and gave me the zinnias on the table. She said to water them and talk to them. I do both, but I don’t think they like what I have to say. 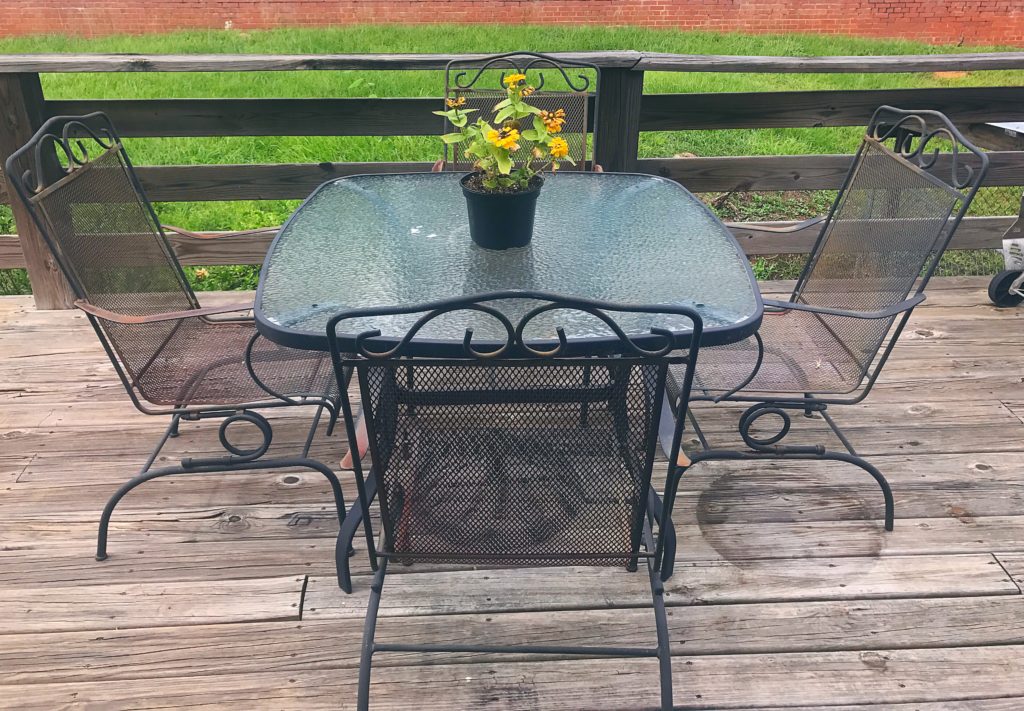
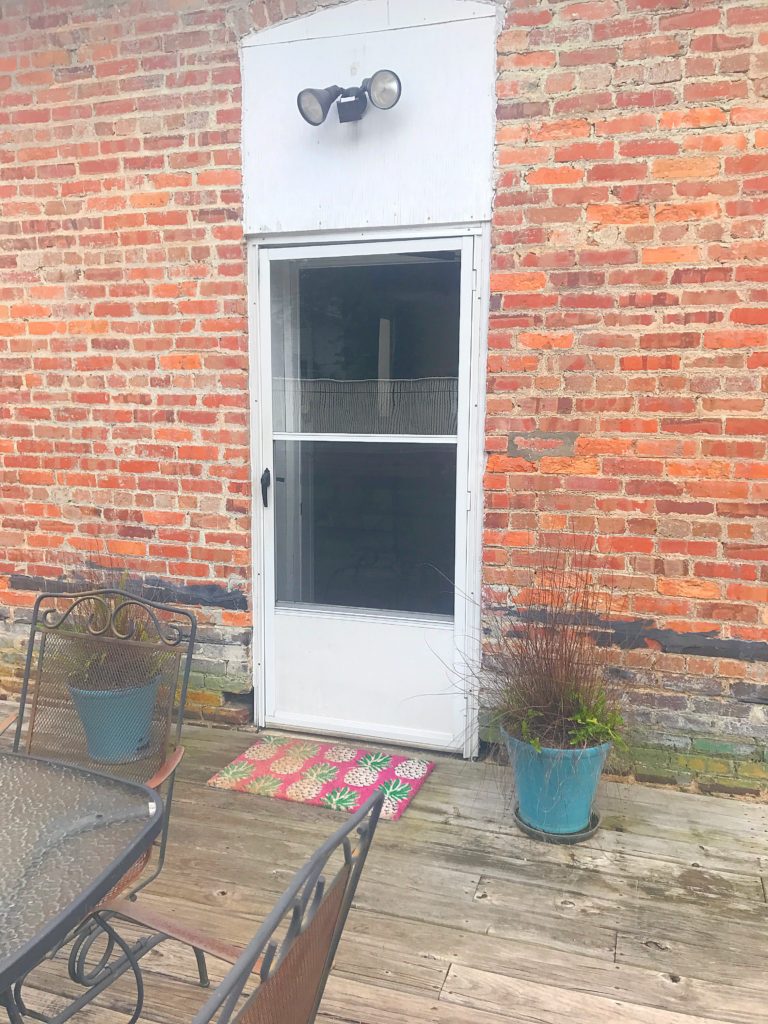
My pineapple rug got so dirty from all the rain and water runoff. 🙁 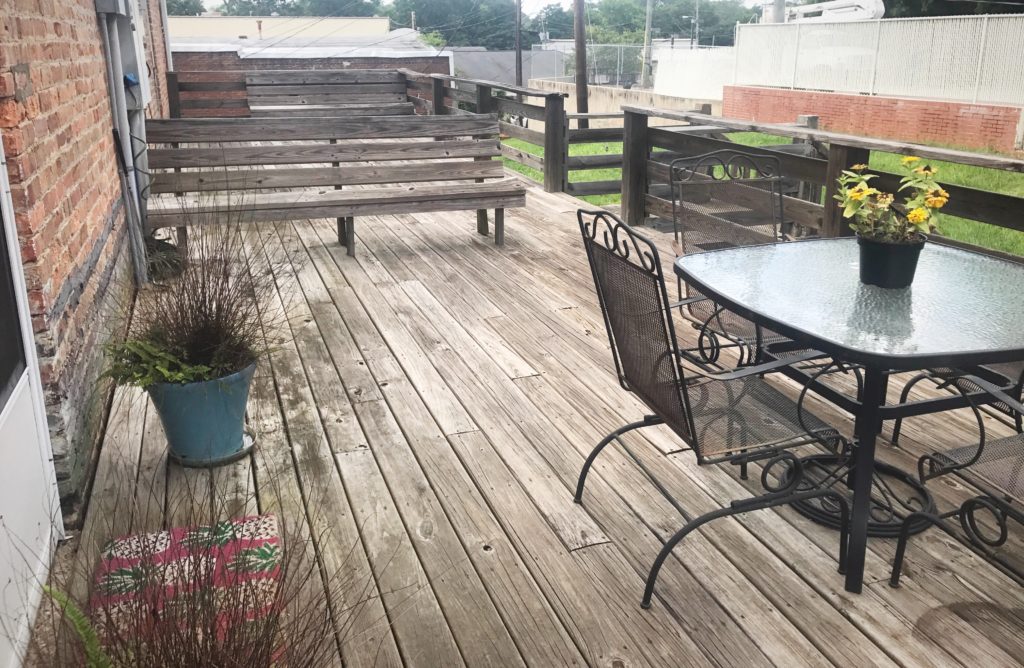
So that’s as far as I’ve gotten. Maybe by the fall, when the weather gets nicer, it’ll be ready for some al fresco dinners and entertaining. Until then, I’ll enjoy the air conditioning and searching for a cheaper umbrella (preferably one that will fit my existing frame) and keep my eye out for more slithery friends. Let me know in the comments if you’ve seen any striped umbrellas that are cheaper than $100. Thanks for stopping by today! Have a great one!

